Send via WhatsApp
The block allows you to send outbound messages to a customer via WhatsApp using the selected channel and template.
WhatsApp restricts the ability to initiate contact with customers. You can only write to a customer first using an HSM template. An HSM template (Highly Structured Message) is a pre-defined standard message for sending to customers via WhatsApp. A template can consist of text, media files, buttons, and variables. WhatsApp templates have strictly limited categories and require WhatsApp approval. For detailed instructions on how to create and register an HSM template, go here.
- Connect the block using the Fail and Success ports.
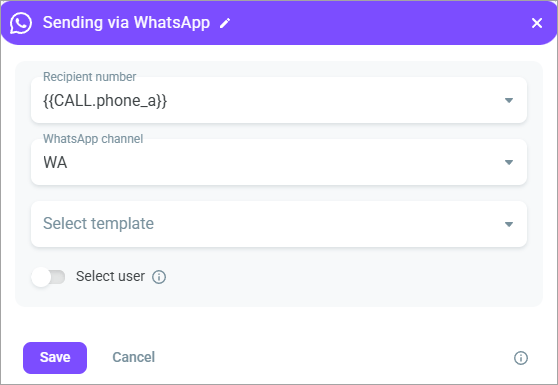
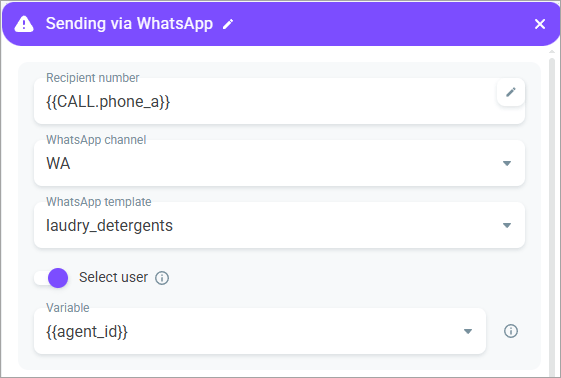
- In the Recipient number field, select or enter the name of the scenario variable (or standard variable) that will store the recipient's phone number.
The variable name can only contain Latin letters and the symbols $ and _.
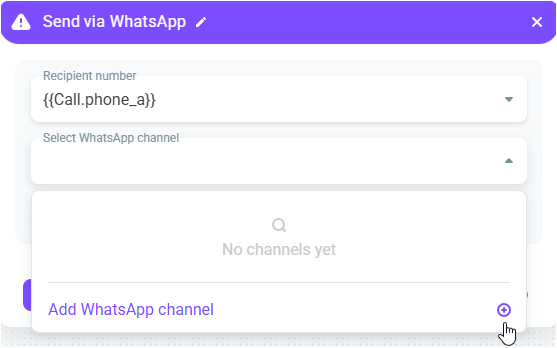
- Choose the WhatsApp channel to use for sending messages. To send a message, you must have a WhatsApp channel that has at least one registered template associated with it.
- If there is no channel, click Add WhatsApp channel.
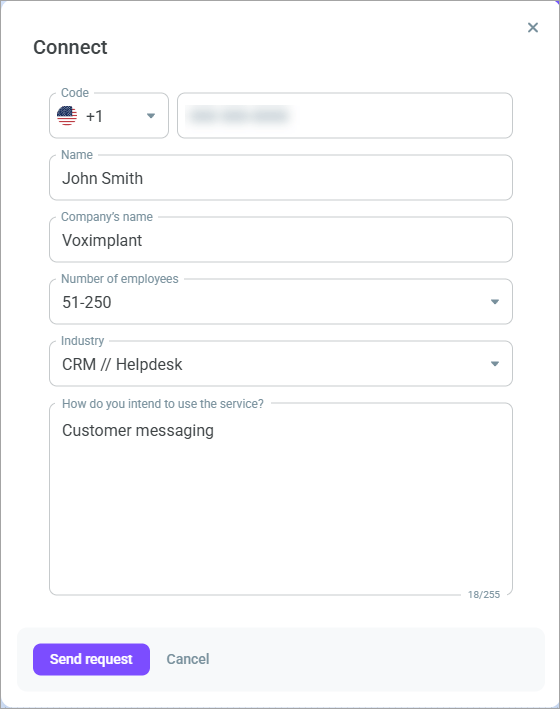
- Fill in the request form and click Send request.
- Select an HSM template from the drop-down list.
Only approved HSM templates linked to the selected channel and stored collections associated with your group are displayed in the list.
After selecting a template, you can preview and partially edit it (variables, attachments, links).
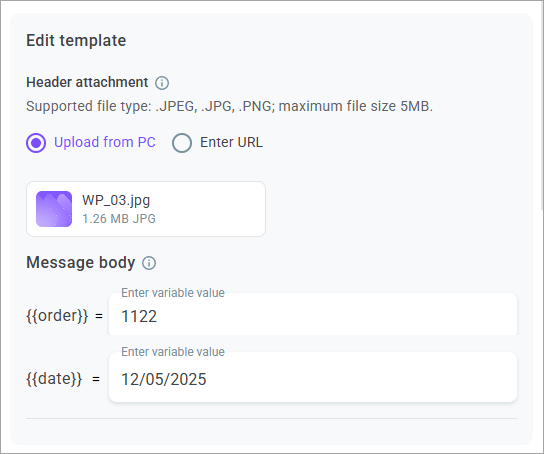
- If you use variables in the header or message body, enter values for each of them.
The maximum number of characters in a variable is 512, and the minimum is 1. A variable can contain any symbols except 4 or more consecutive spaces and line breaks. You can also use standard or scenario variables as variable values. If the number of characters in the message text (including variables and emojis) exceeds the limit, the message will not be sent.
- If a Media header is used in the template, the system automatically attaches the file, image, or video added during template registration. If necessary, change the attachment by selecting one of the options: upload it from your PC or paste a URL.
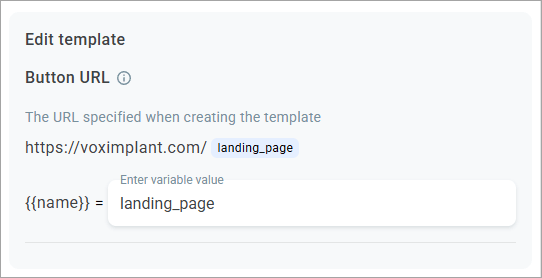
- If you use a link button in the template, specify its dynamic part.
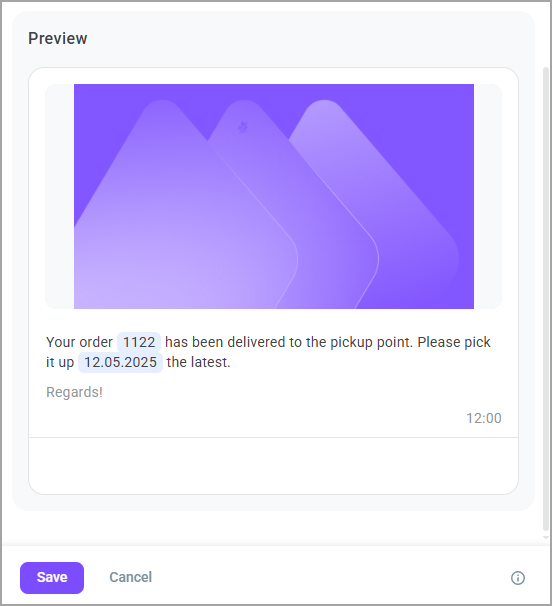
- In the preview window, see how your template message will appear to a customer.
- Enable the Select user switch to select an employee for routing the customer's response message. Enter the variable name (scenario or standard) to receive the user's email. If you do not select a user, the system routes the response message according to the channel settings (to a queue or function).
The variable name can only contain Latin letters and the symbols $ and _.
- Click Save.
Until the customer responds to the template message, it is not displayed in the Workspace, but is available in the History > Messages section.
When the customer replies to the message, it automatically appears in the Workspace for the agent specified in the block in the Select user field or for a user from the queue to which the request was distributed according to the channel settings.
