Configuring an outbound scenario
Create an outbound scenario and bind it to an automated campaign.
Contents
Creating an outbound scenario
- Log in to your Voximplant Kit account.
- On the left sidebar, click Admonistration > Automation > Outbound scenarios.
- Click Blank scenario or use a predefined template.
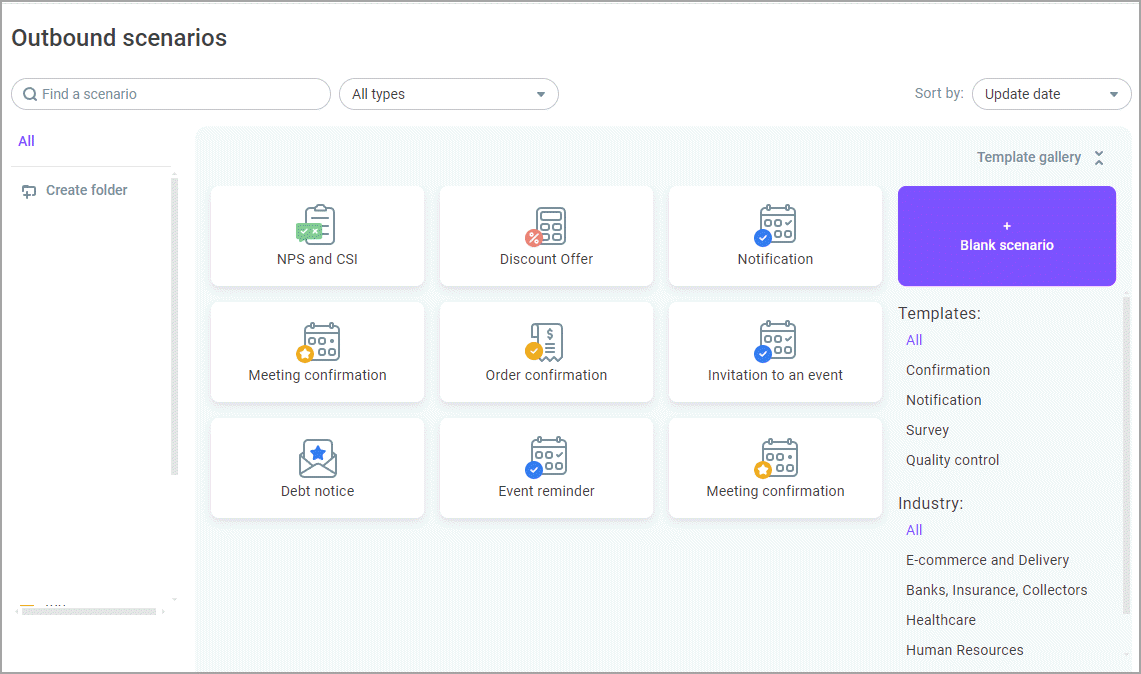
The scenario editor opens, where you can add required blocks.
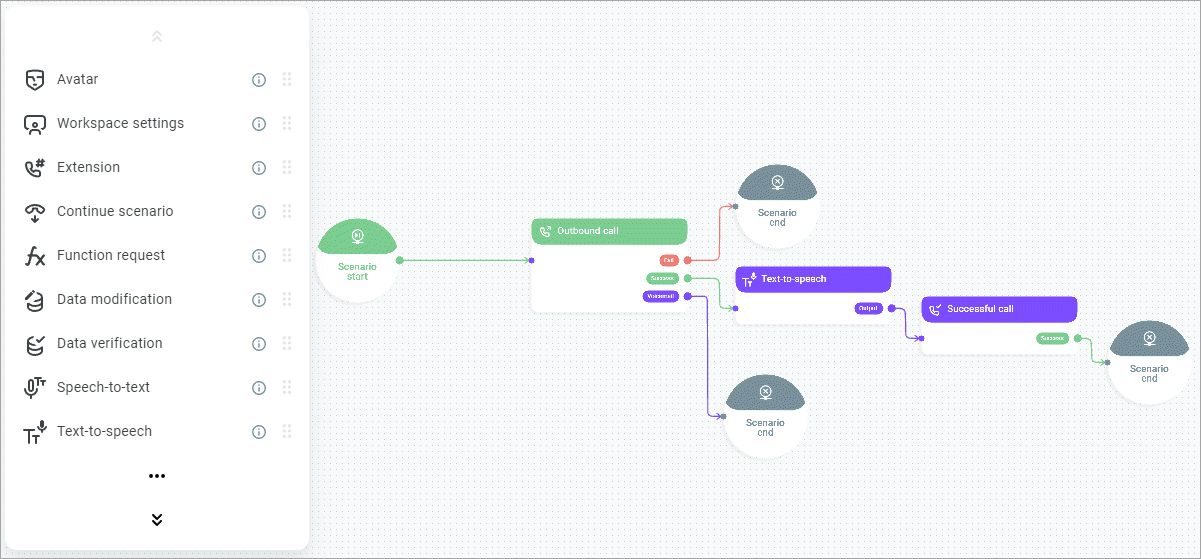
A blank scenario contains some predefined blocks you can edit or delete, except the Scenario start and Outbound call blocks.
- Select the required block and place it on the canvas.
- Connect the blocks to each other using ports.
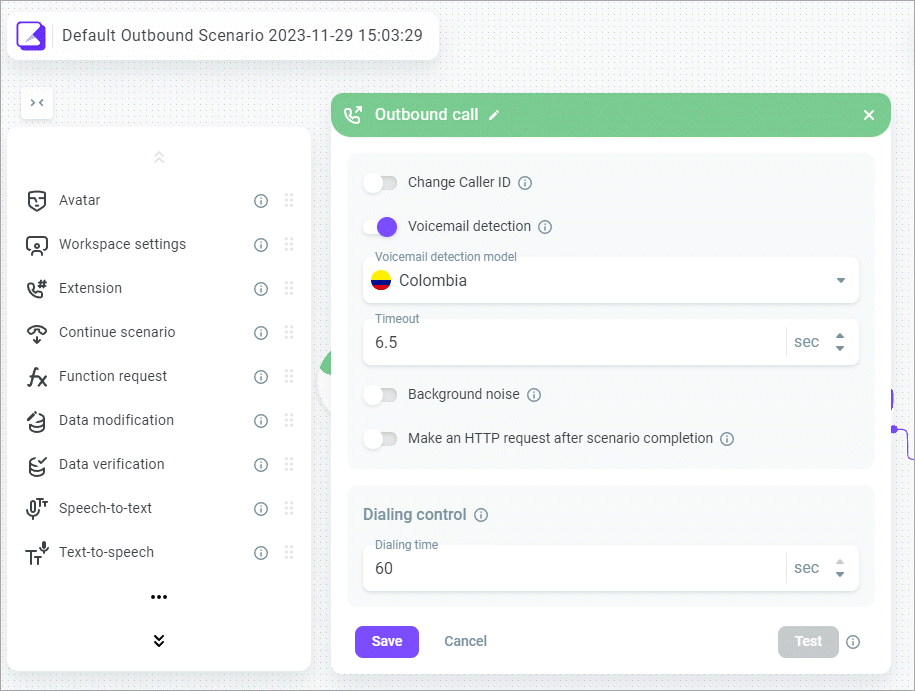
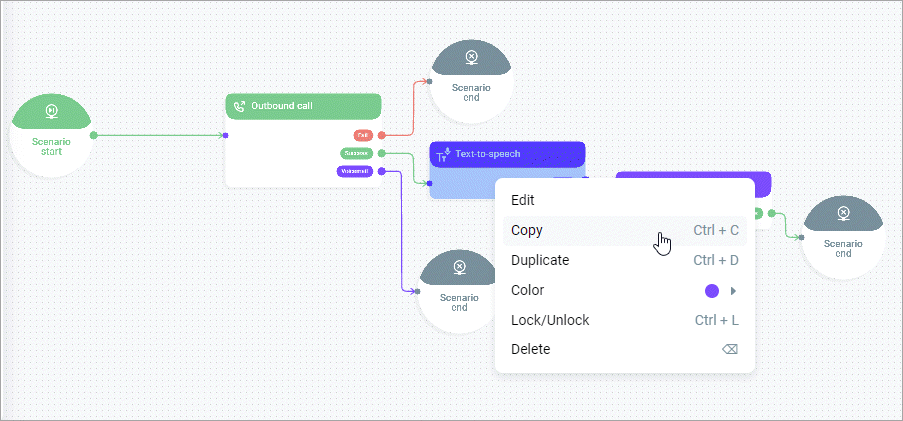
- Double-click each block to open it and set its parameters. Right-clicking the block will offer you the following options: edit, copy, duplicate, color, lock/unlock, and delete.
Click the Magnifying glass icon in the upper right-hand corner of the screen to locate the block placed on the canvas.
- In the upper left-hand corner of the screen, you can see the scenario name. Click it to view the scenario properties, rename it, copy or move the scenario to a folder (available only for published scenarios).
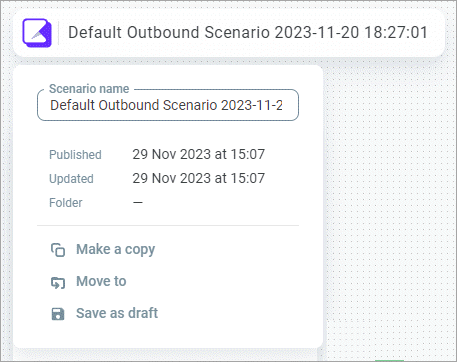
- Click Save as draft to save the scenario without publishing.
Publishing and testing
Prior to binding your scenario to an automated campaign, you need to publish it.
- Click Publish in the lower left-hand corner of the screen. Enter a comment if needed.
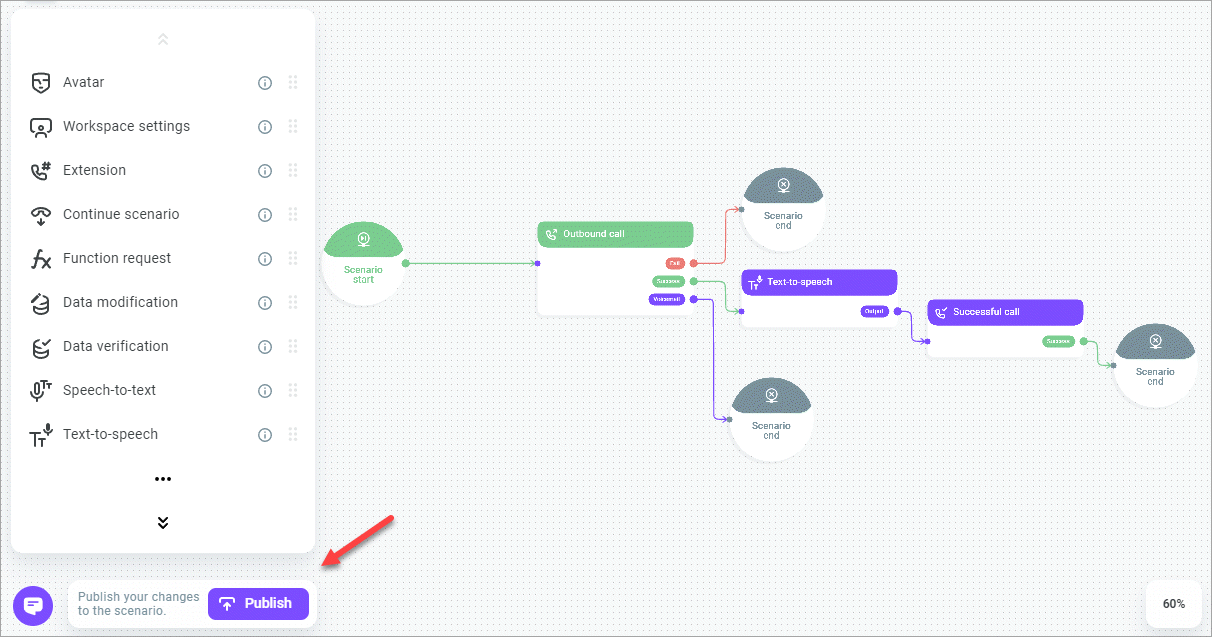
Sometimes several users may simultaneously edit the same scenario. If another user has already published the scenario and you attempt to publish it too, you get a warning with alternative publishing options: publish your version as a copy, overrite the latest version, or update your version to the latest one.
Next, test the scenario.
- Click the Test button.
- Select the Caller ID from which the test call will start. A Caller ID can be a rented phone number, your own number, or a SIP number.
- Enter the destination phone number.
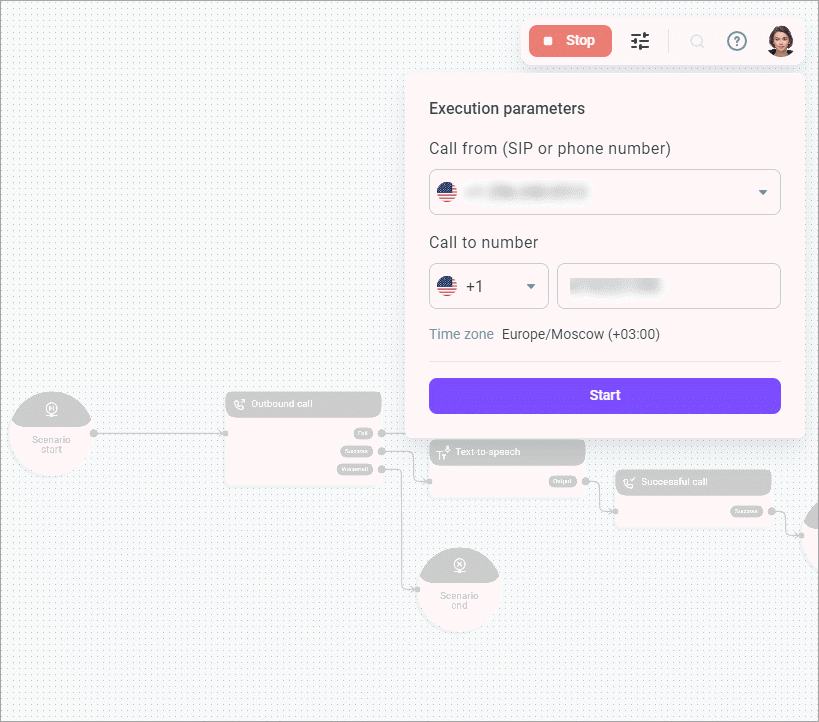
For outbound SIP calls, SIP URI will consist of two parts. The first part is the phone number for the test call, i.e. the user phone number that will receive the call. The second part is the host to which the call will be launched. This is the host (peer address) of the SIP trunk associated with the SIP number you selected as a Caller ID.
- Click Start.
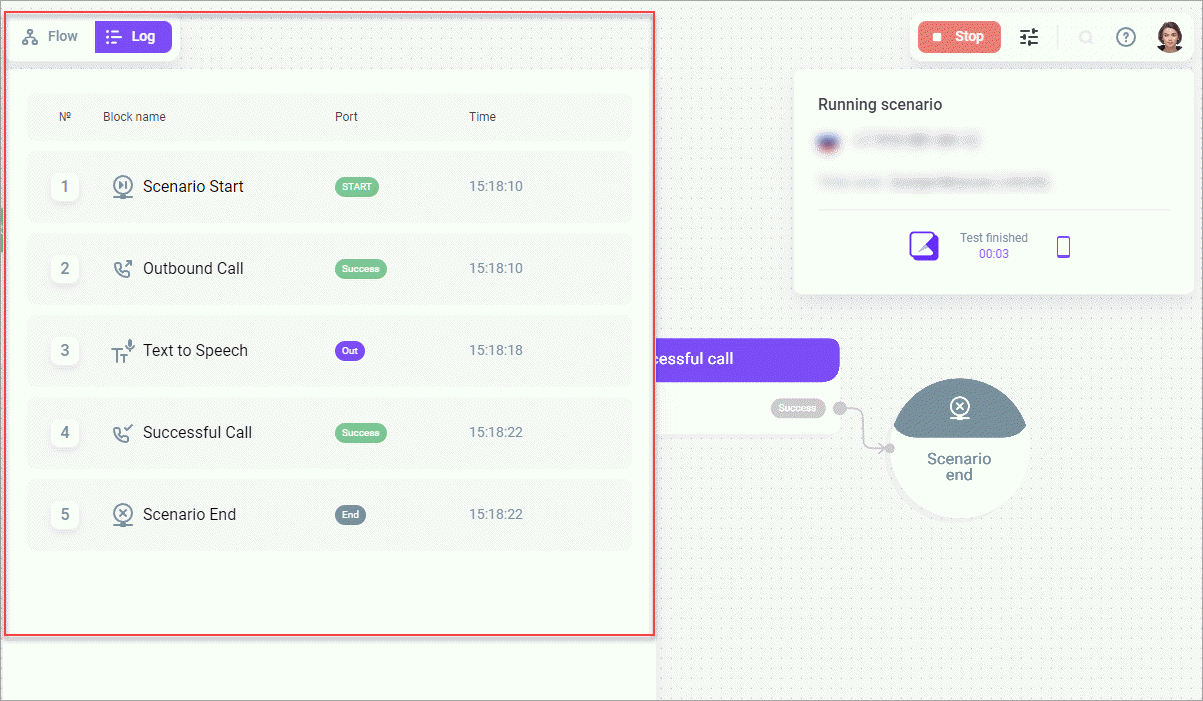
Тhe system runs the test in live mode, so you can see how data flows through your scenario, including the called response/values.
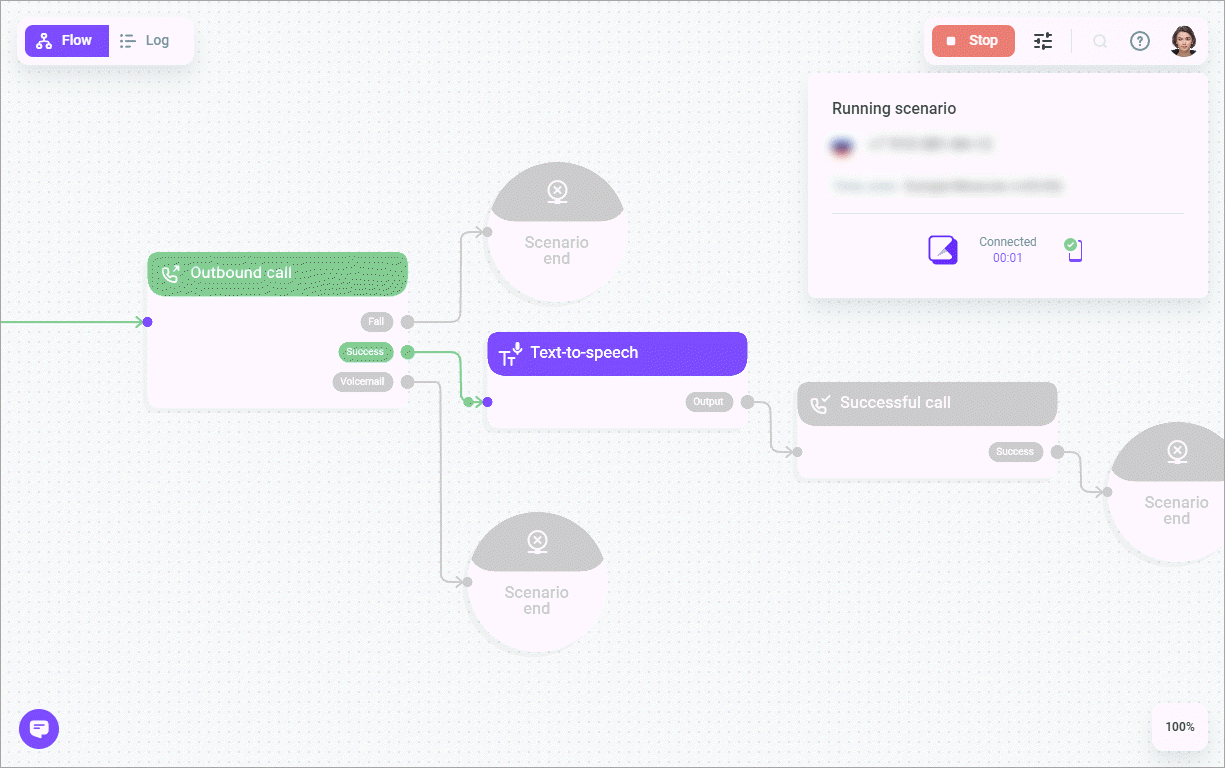
- Click the Log button on the left side of the screen to view the call log.
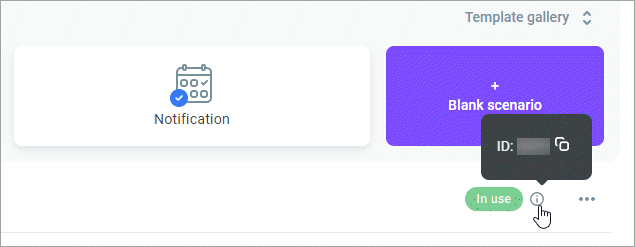
- Click the Information icon to view or copy the scenario ID.
Once published and successfully tested, you can bind the scenario to an automated campaign.
