Creating a Facebook BM account
In this article, learn how to create and verify a Facebook Business Manager account.
- Go to Business Manager.
- Click Create an account.

- Enter your Facebook credentials.
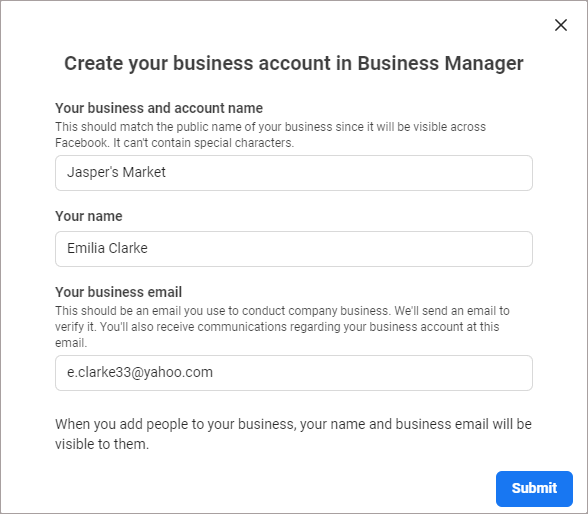
- Enter your company name, your name and business email address, and click Submit. Facebook will send you a confirmation message to register your account.
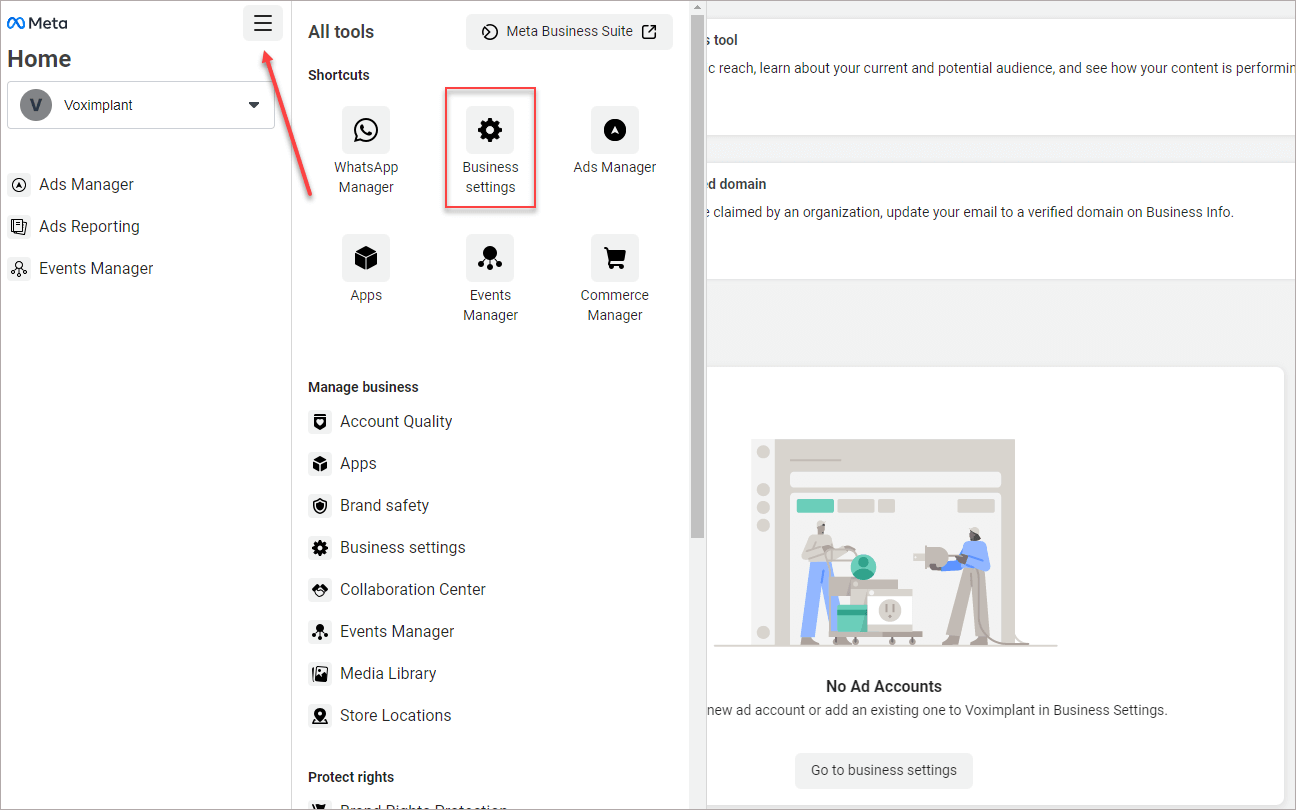
- In your Facebook Business Manager account, click the hamburger menu and select Business settings.
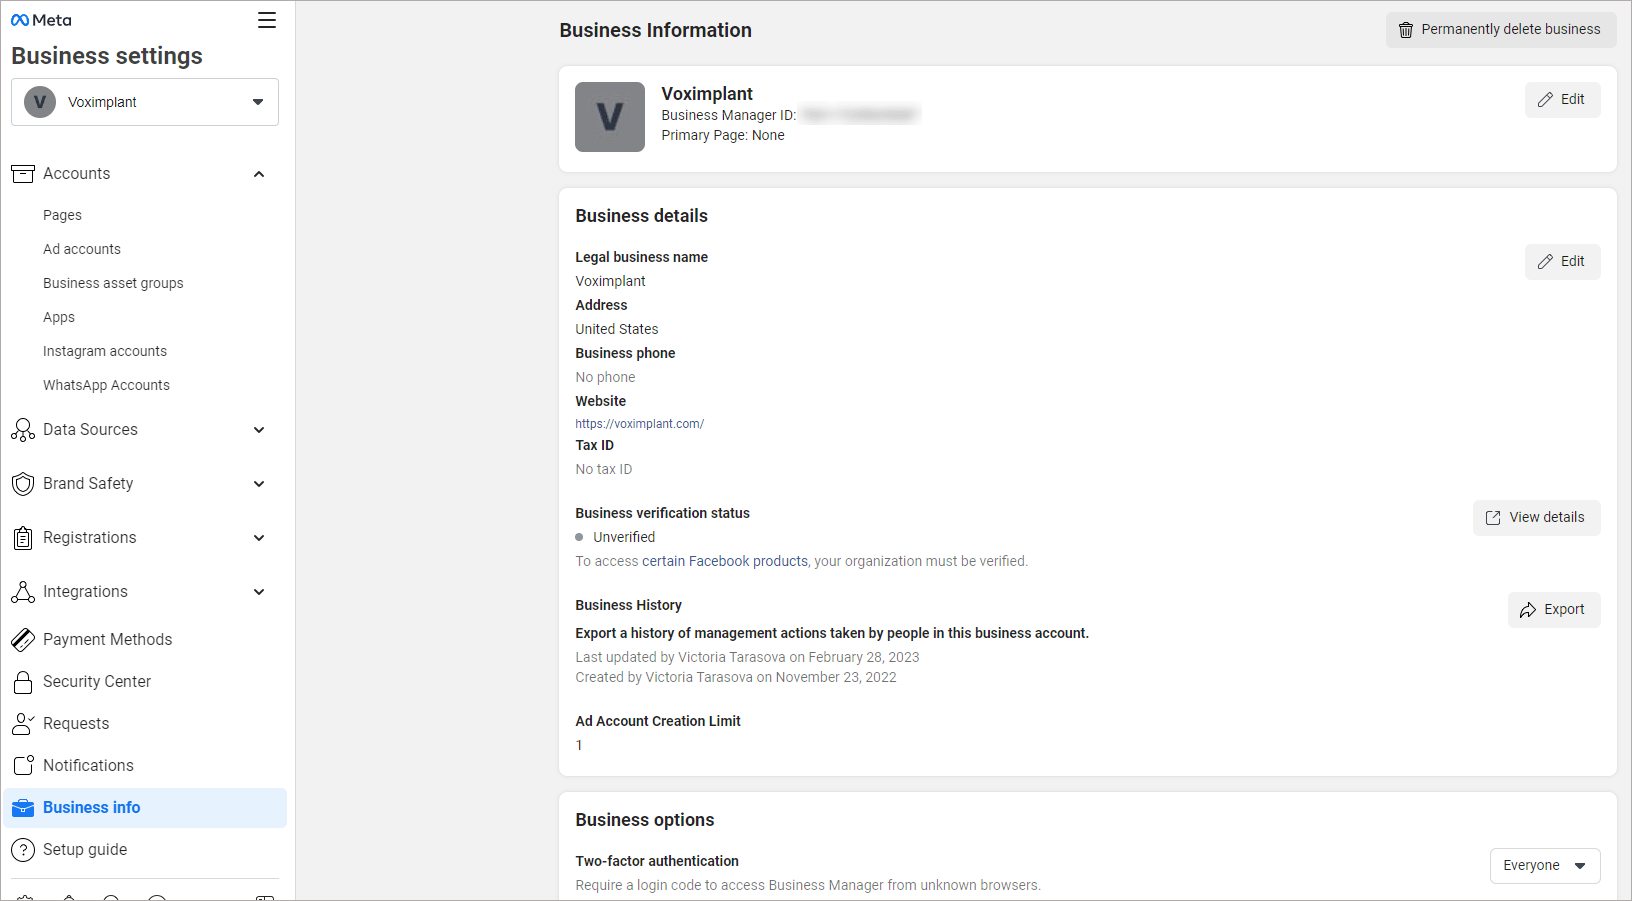
- In the left menu, select Business info and enter your company details.
After you create the account, you need to verify it.
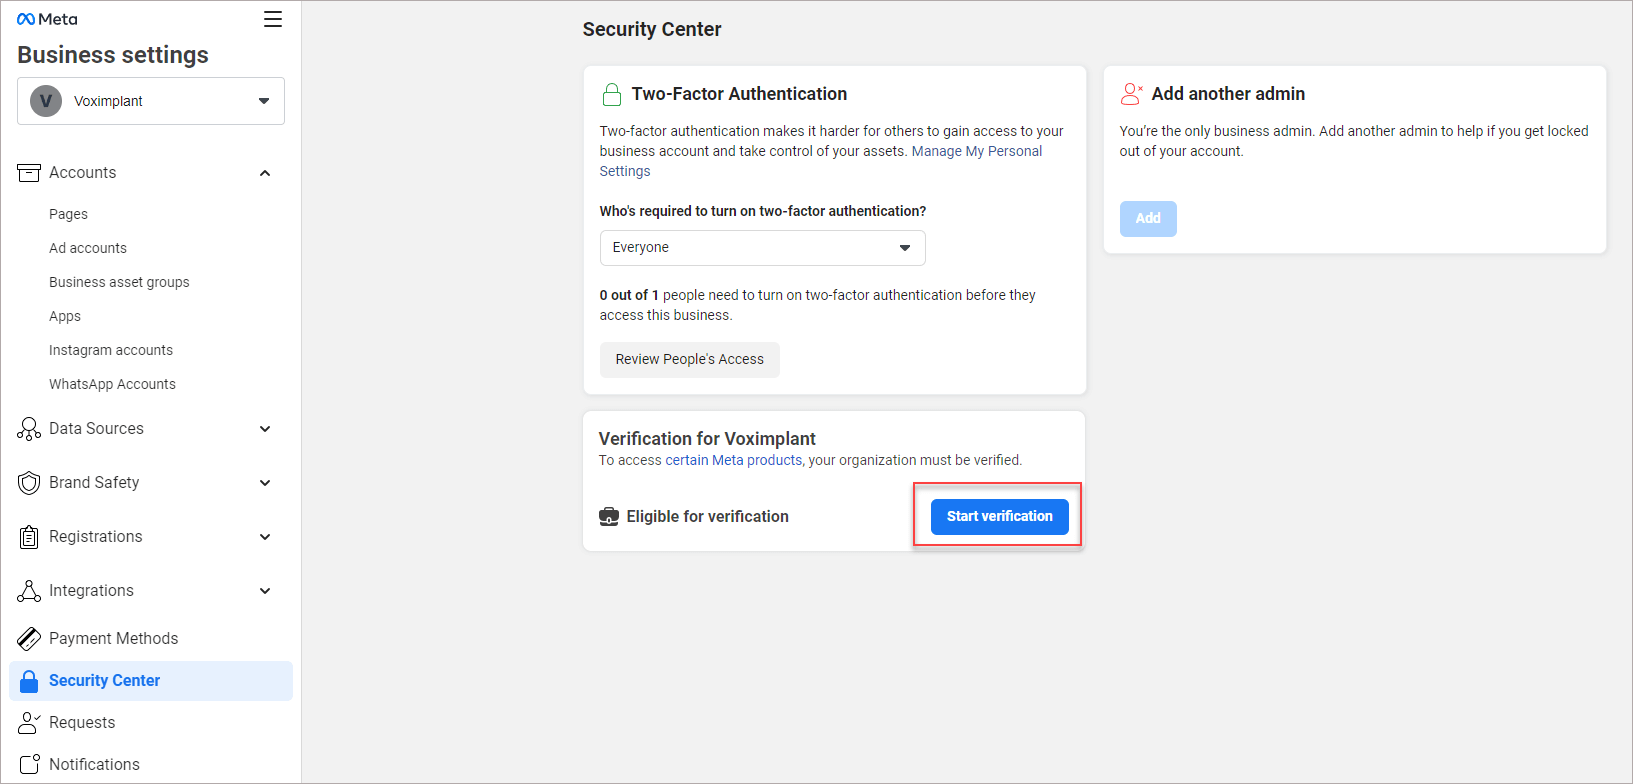
- In the left menu, select Security Center.
- Click Start verification.
- In the window that opens, click Get started.
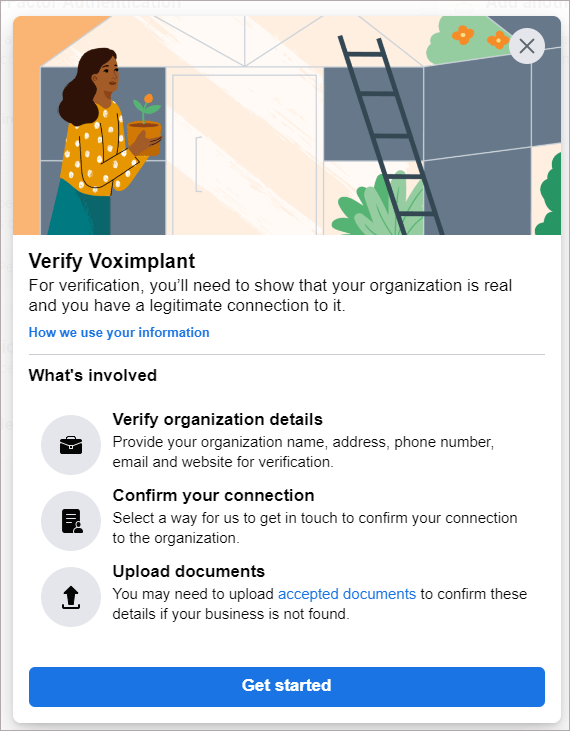
- Enter your company details, confirm your connection to the company, and upload your legal documents, if required.
The verification process starts. Note that it may take up to several days.
If you have just created your Facebook Business Manager account, the Start verification button may be inactive. In this case, do the following:
- Go to Facebook for Developers and log in.
- Click My Apps and then Create App.

- Select the app type and click Next.
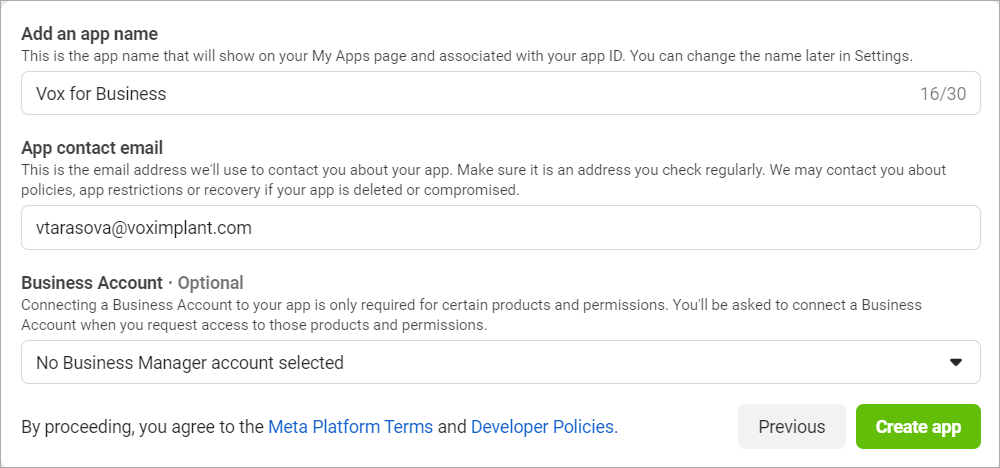
- Enter the app name and contact email. Click Create App.
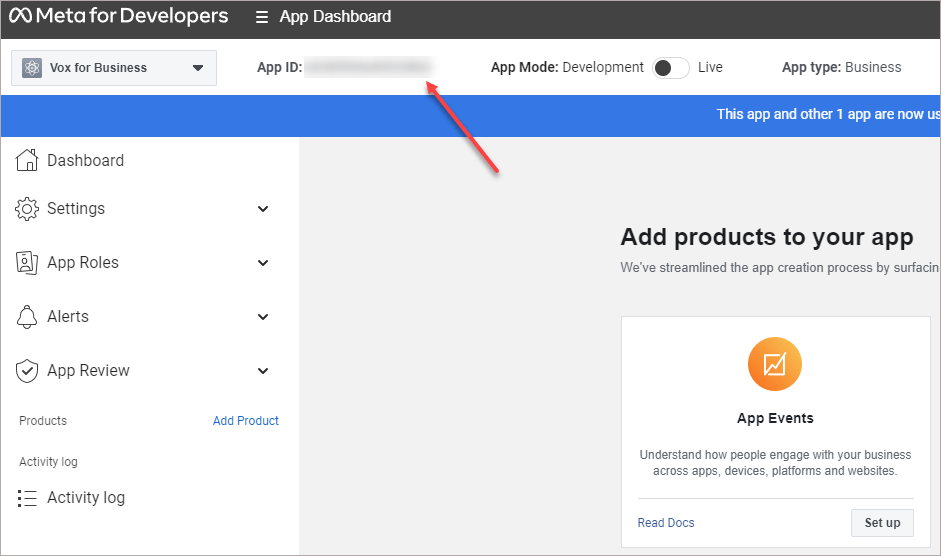
- Copy your app ID.
- Go back to your Facebook Business Manager account and select Business Settings.
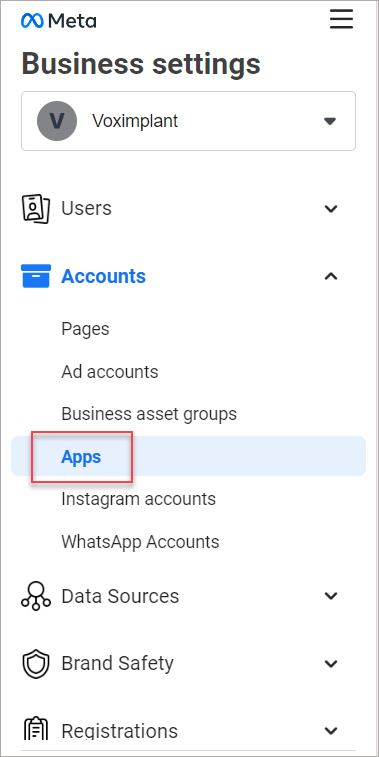
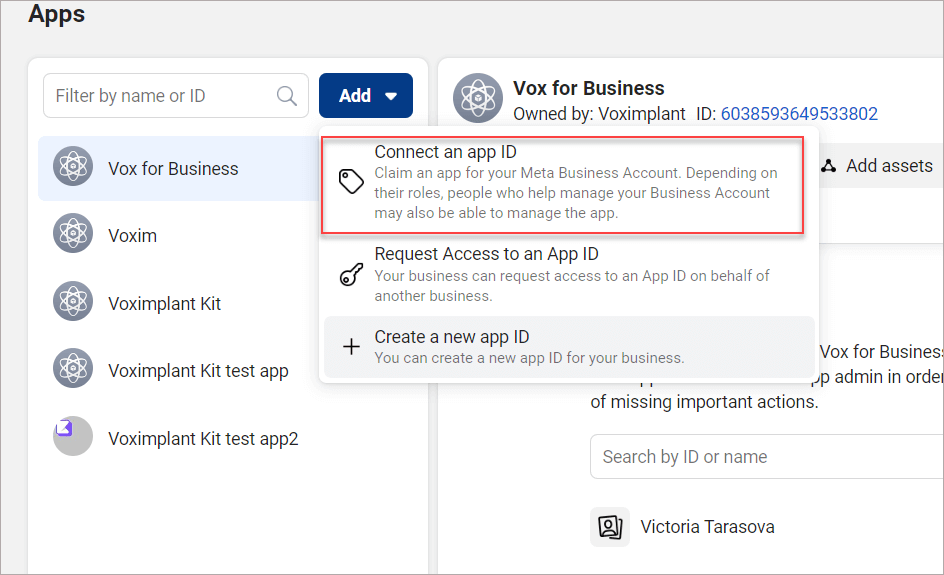
- In the left menu, expand the Accounts section and select Apps.
- Click Add and select Connect an app ID.
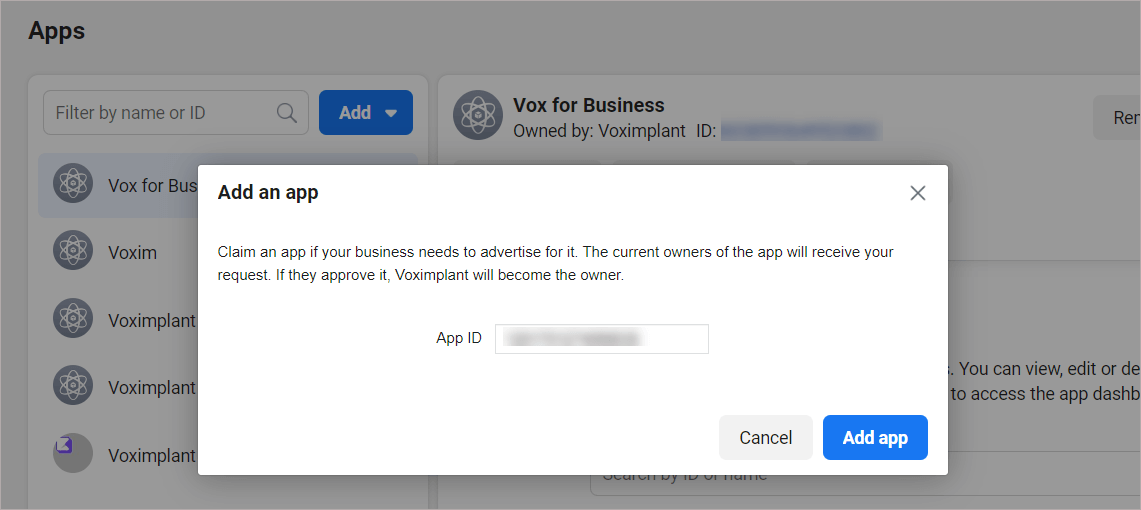
- Paste your app ID and click Add app.
- Go to the Security Center section and check the Business verification button. The button should be active now to allow you to start verification.
