Integration with Salesforce
The Salesforce CRM system gives companies a centralized location to store, track, and manage customer information. Information from all teams is presented in a single shared view and flows throughout your company in real time. Integrate Voximplant Kit with Salesforce to empower your managers communicate with customers right from the CRM system and resolve their issues in no time.
To make and receive calls in Salesforce with Voximplant Kit, you need to:
Obtain authentication data in Voximplant Kit
Set up an integration in Salesforce and install the Kit softphone app
Contents
Obtaining Voximplant Kit data
Before setting up an integration in Salesforce, obtain Voximplant Kit authentication data.
- Log in to your Voximplant Kit account.
- Go to Administration > Security > API tokens.
- Click the Add API token button.
- Enter your token name and click Save.

- Copy the token and save it on your PC.

- Copy and save the token ID.

- Click API access data.

- In the dialog that opens, copy your API hostname, account name, and CTI server hostname.
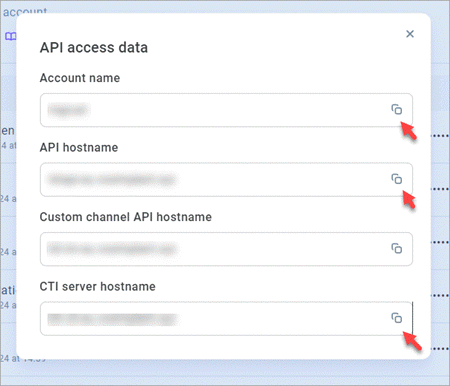
You will need the copied data to create an integration in the next workshop.
Creating an integration in Salesforce
- Log in to your Salesforce account.
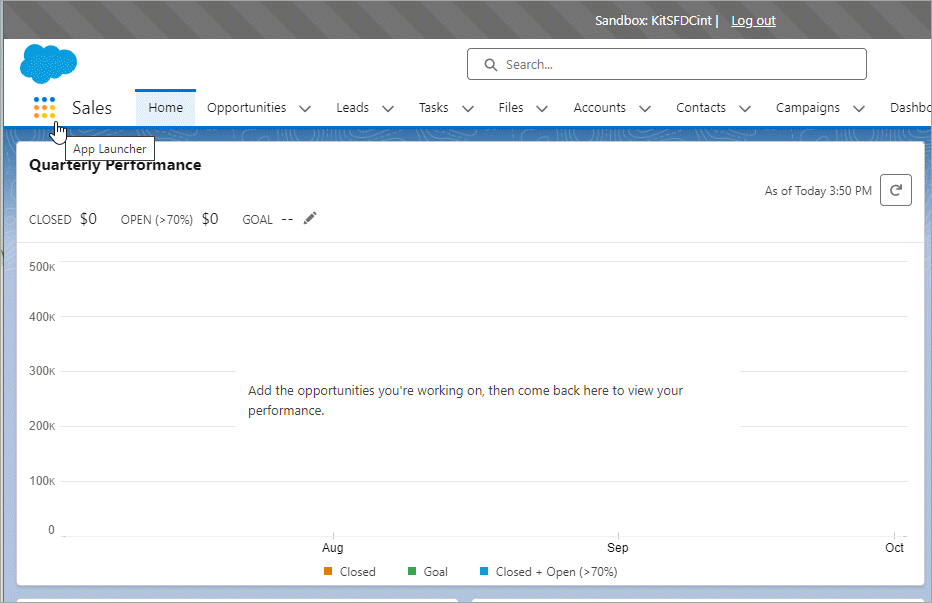
- Click the App Launcher icon.
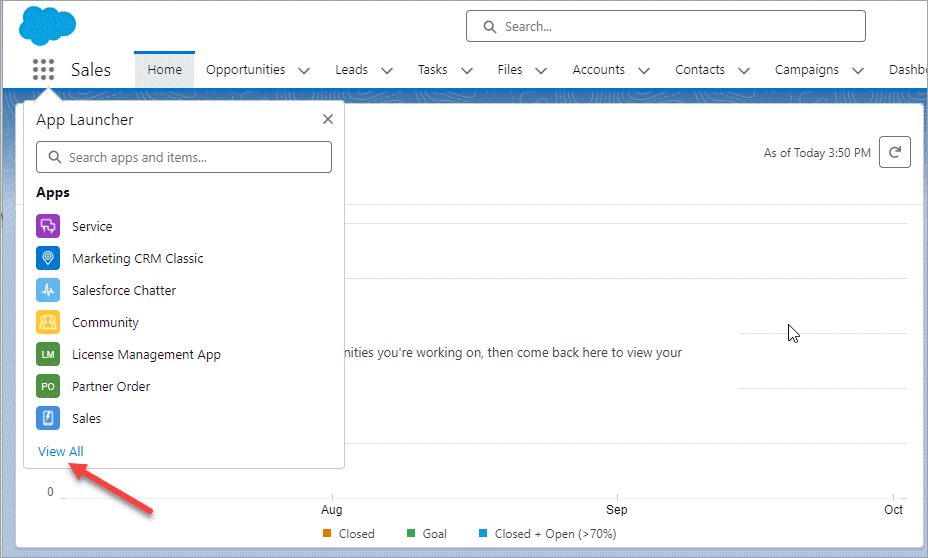
- Click View all.
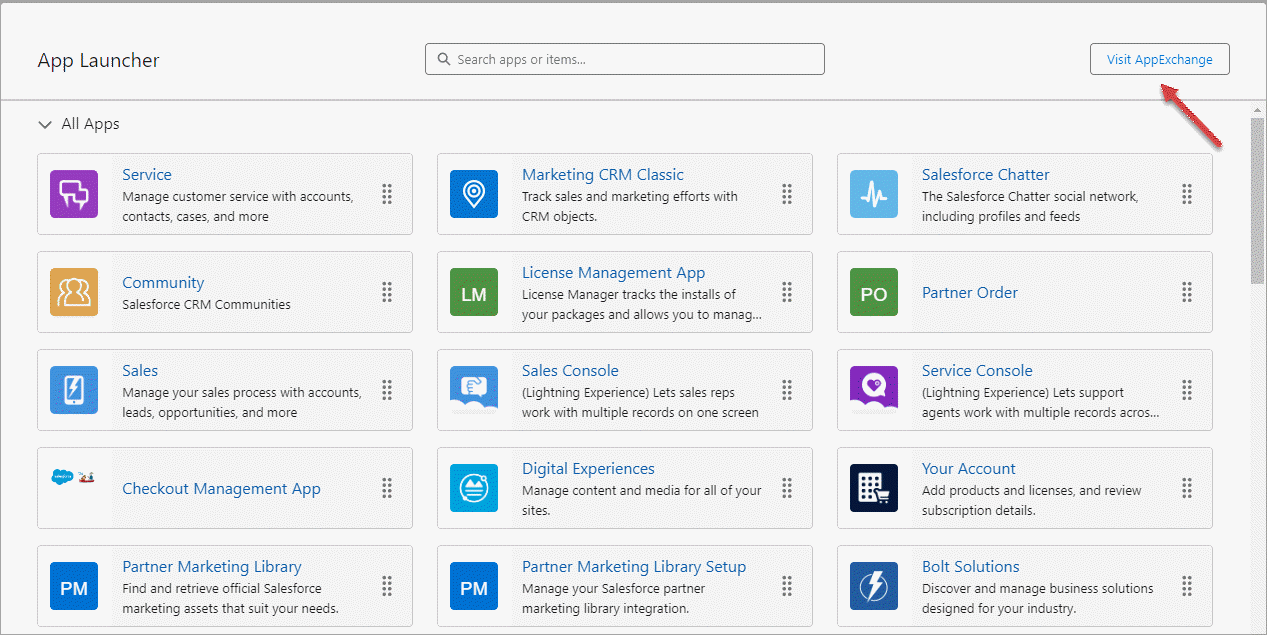
- On the dashboard that opens, click Visit AppExchange.
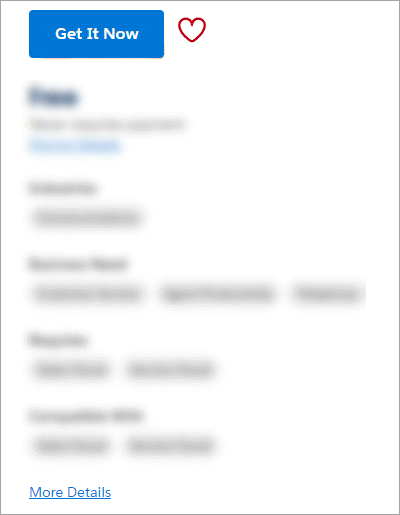
- Use the Search field to find the Voximplant Kit application, select it, and click Get It Now.
- In step 1, click Download Voximplant Kit softphone and follow the instructions depending on your operating system.
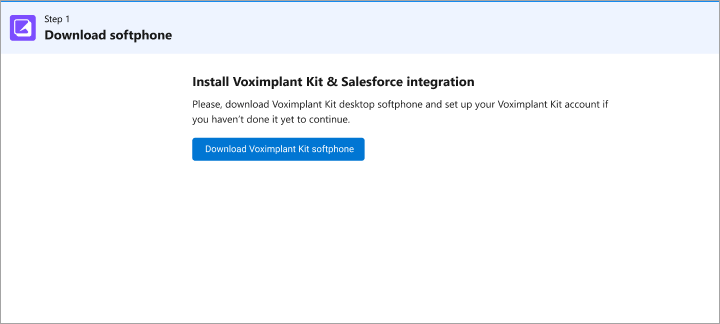
- Click Next.
- In step 2, enter the data you obtained in the previous workshop and click Next.
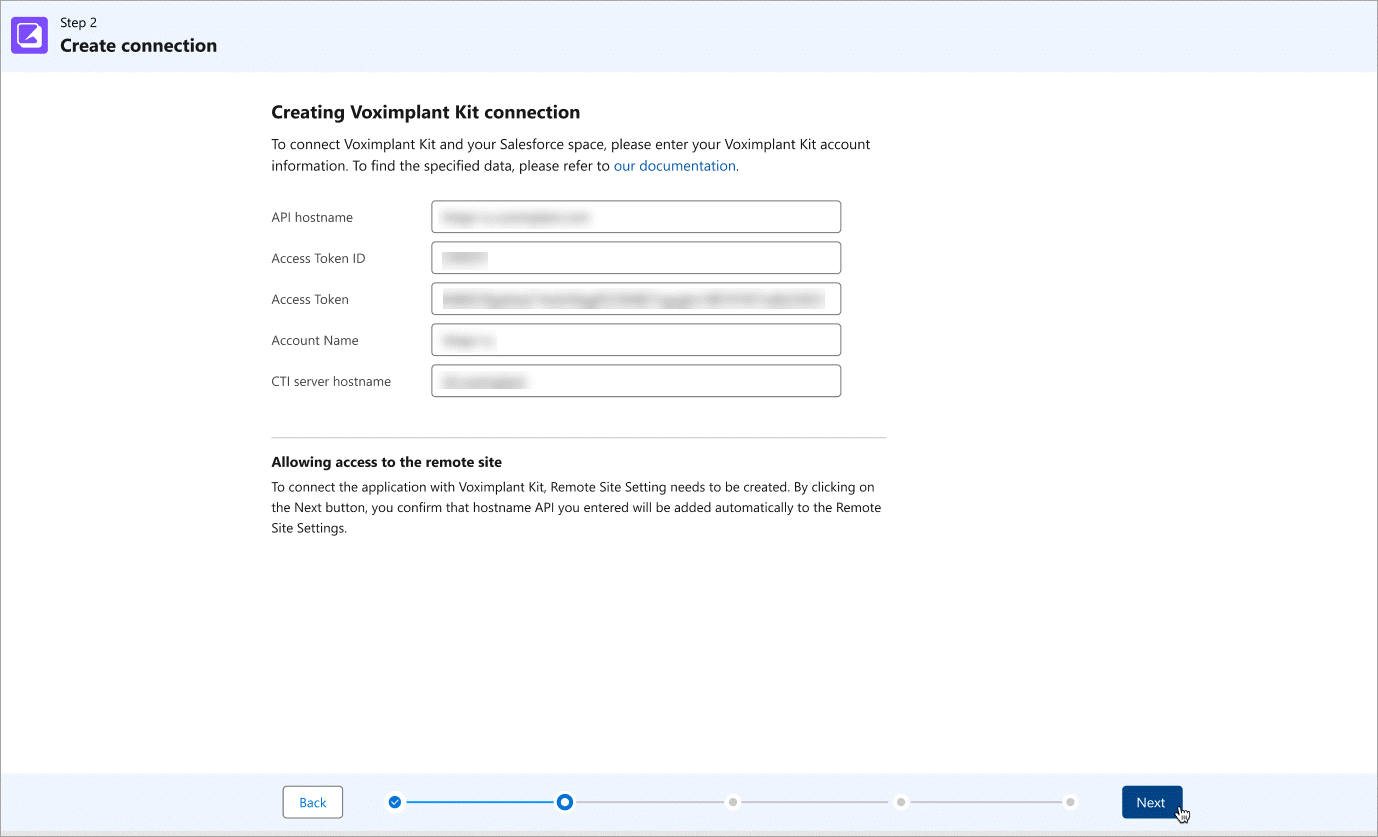
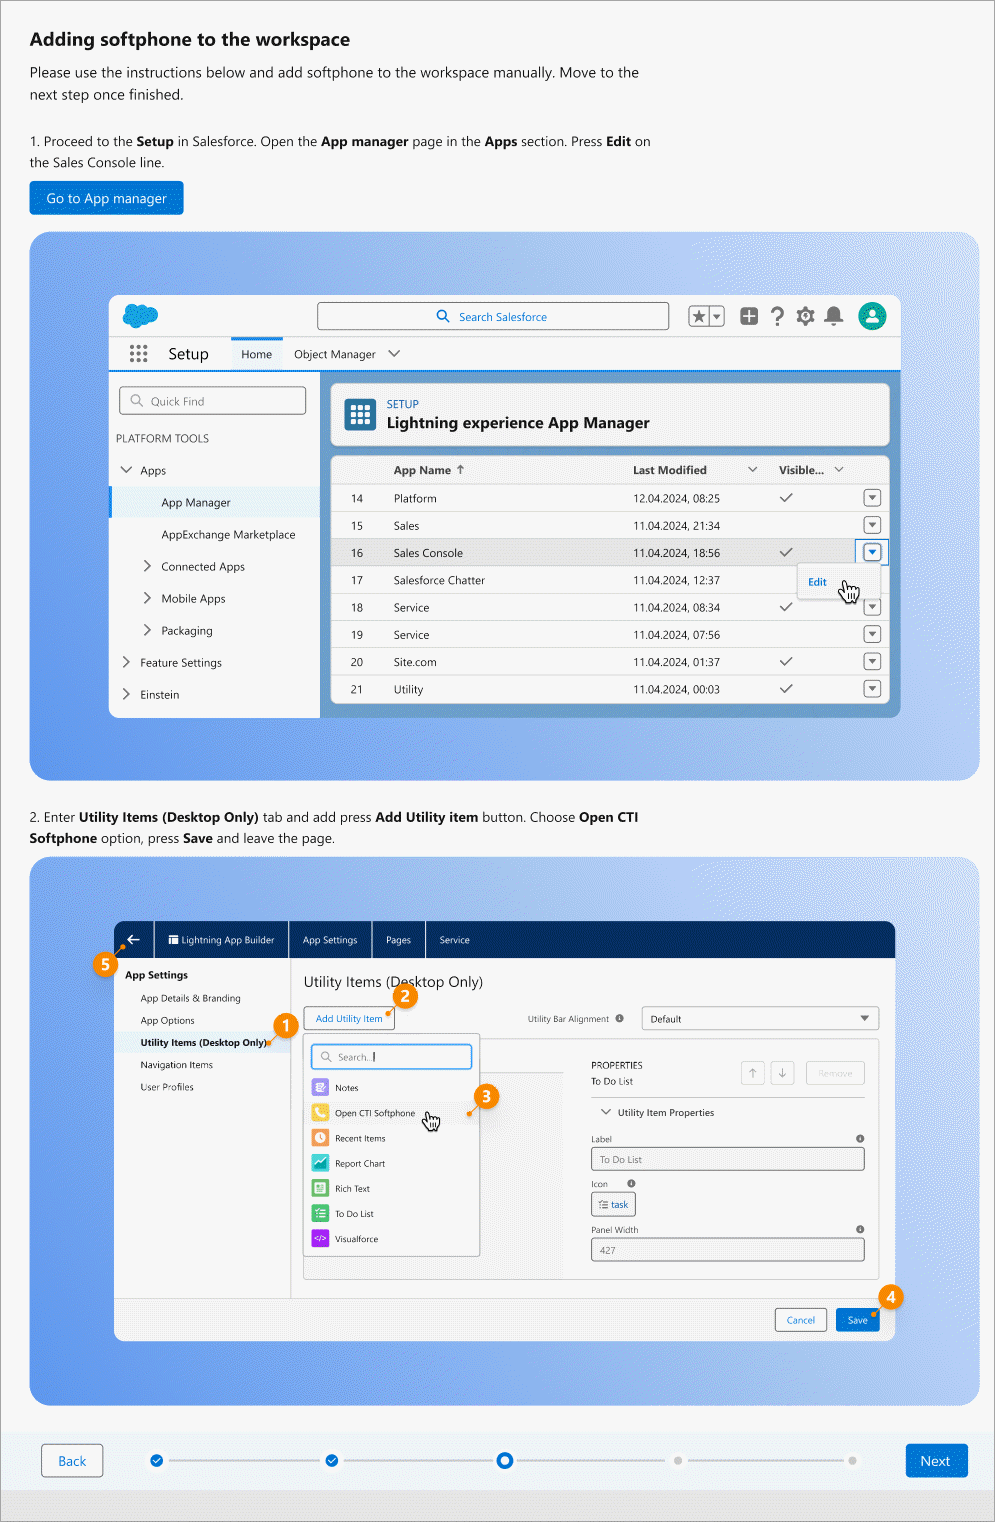
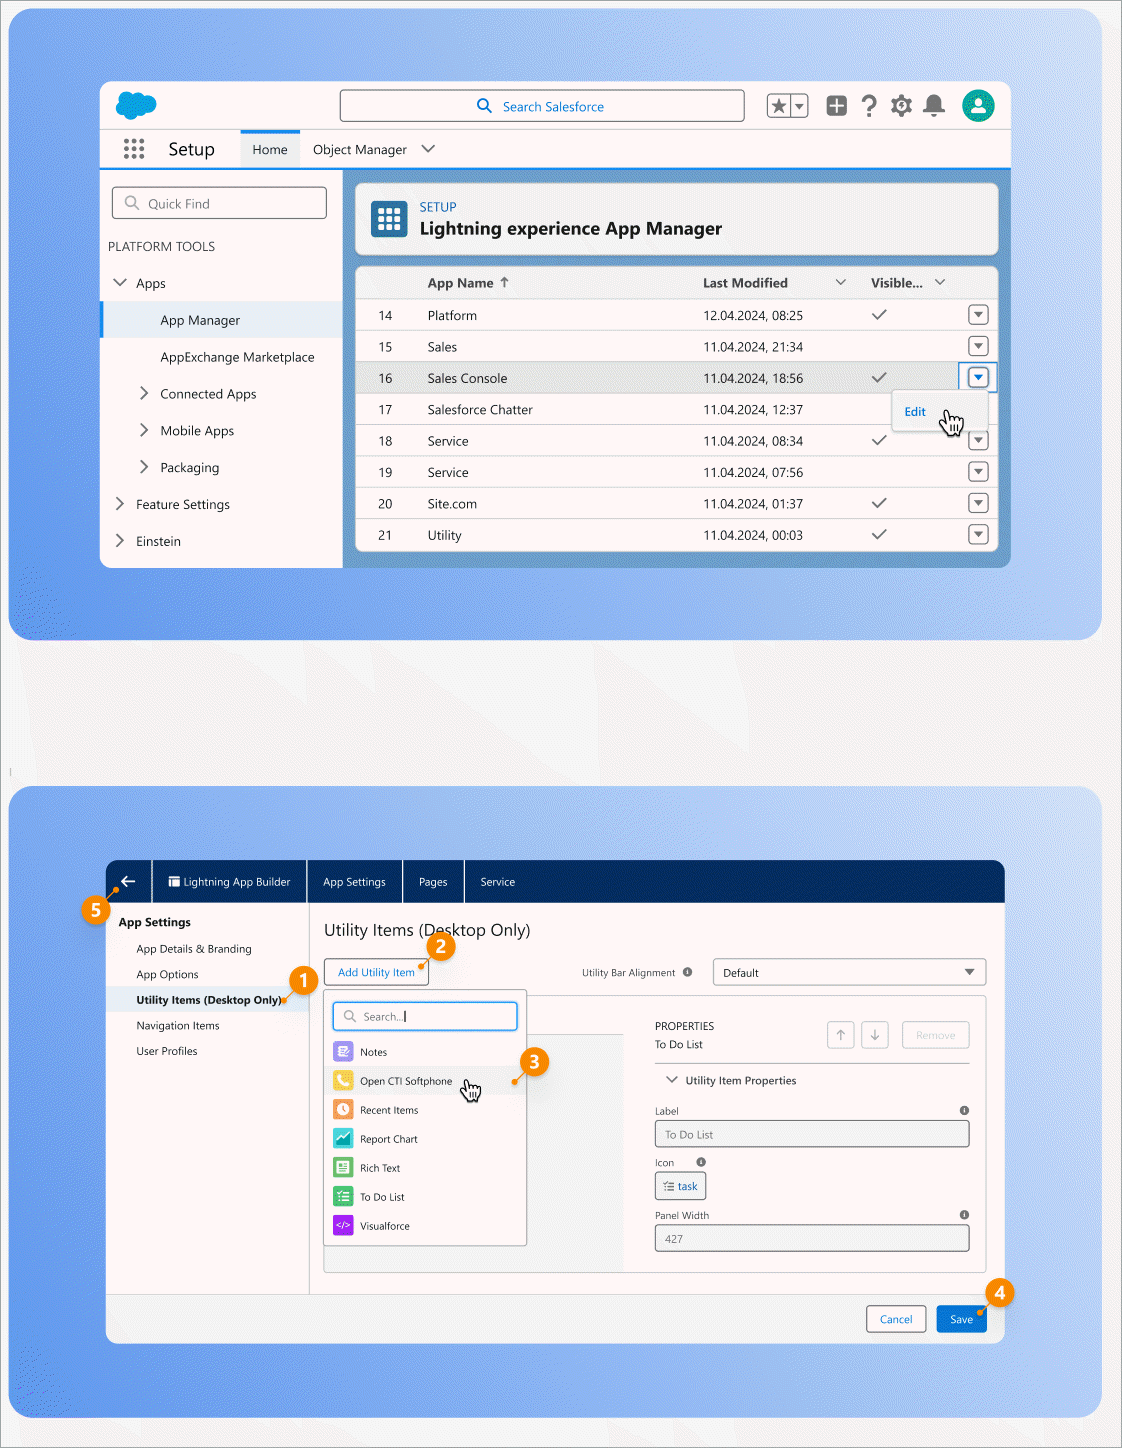
- In step 3, follow the instructions to manually add the softphone to the Salesforce workspace. Move on to the next step once finished.
- In step 4, add Salesforce users to access the Voximplant Kit integration and set up their roles.
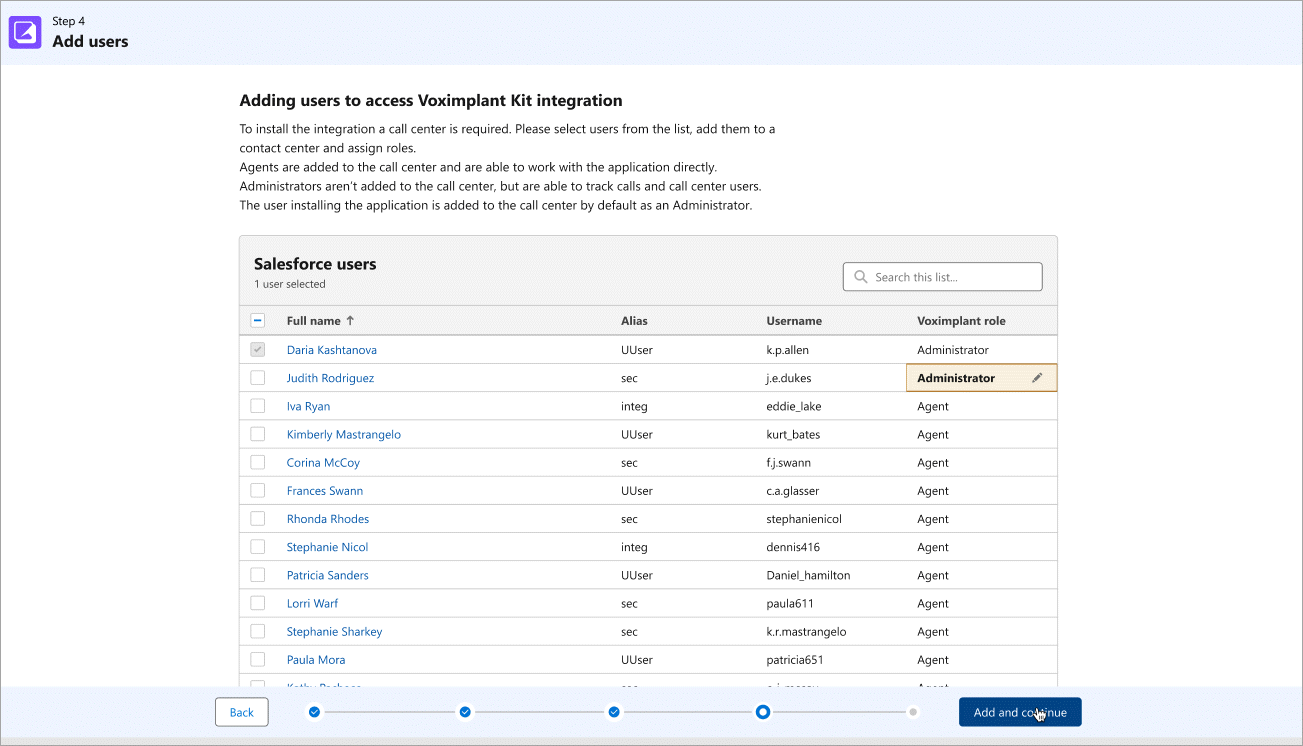
- Click Add and continue.
- Follow the instructions in step 5 to finalize the integration connection process and click Finish.
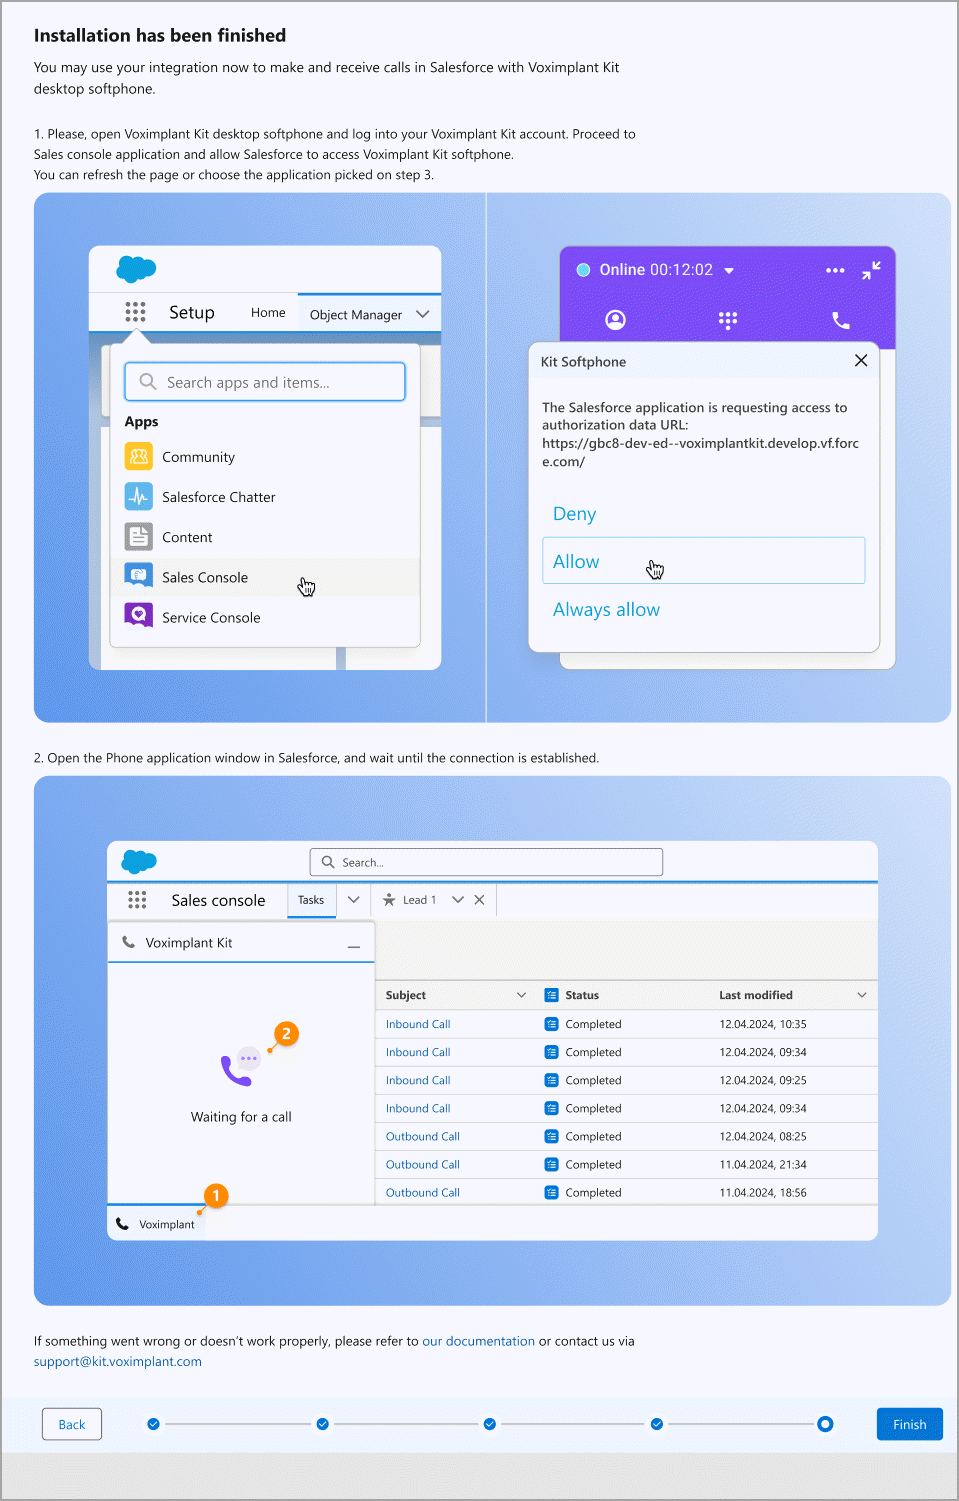
Congratulations! You can now use the integration to make and receive calls in Salesforce with the Kit softphone app.
Working with the integration
With the integration connected, you can:
Process inbound calls in your CRM system and view associated records
Create new records
Associate calls with records
Click to call
Processing an inbound call
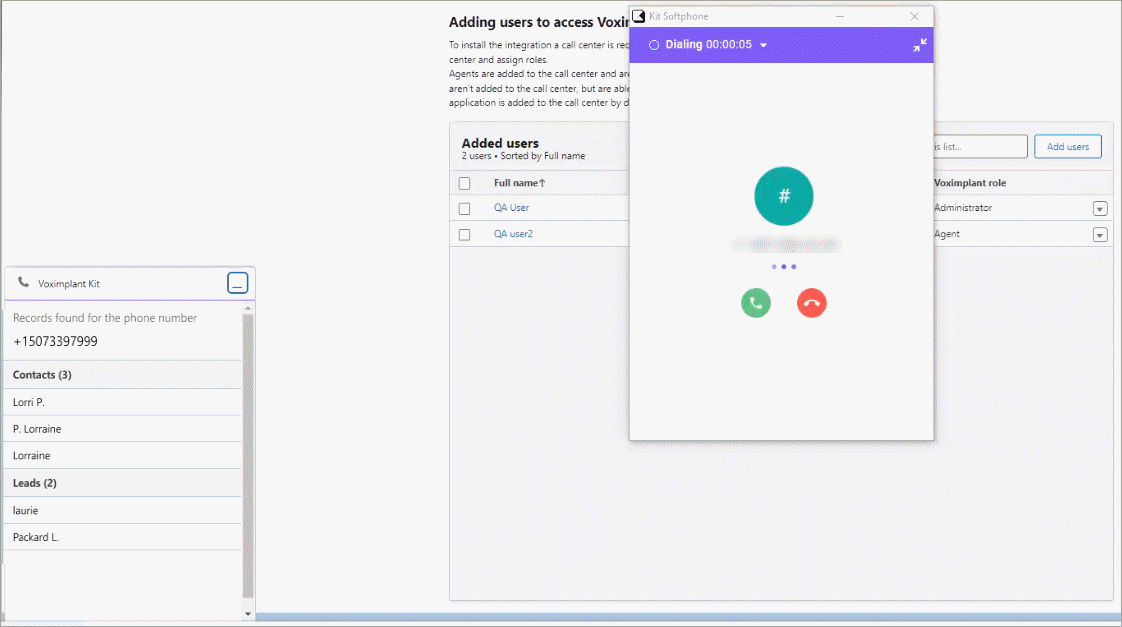
When a customer initiates a call, the Kit softphone app shows you an inbound call and allows you to start communication. The CTI panel widget in the lefthand corner of the screen displays the list of associated records (leads and contacts - maximum 20) if any, so you can pick an appropriate record before answering the call.
The widget displays the list of associated records for all inbound calls and outbound calls dialed manually from the softphone.
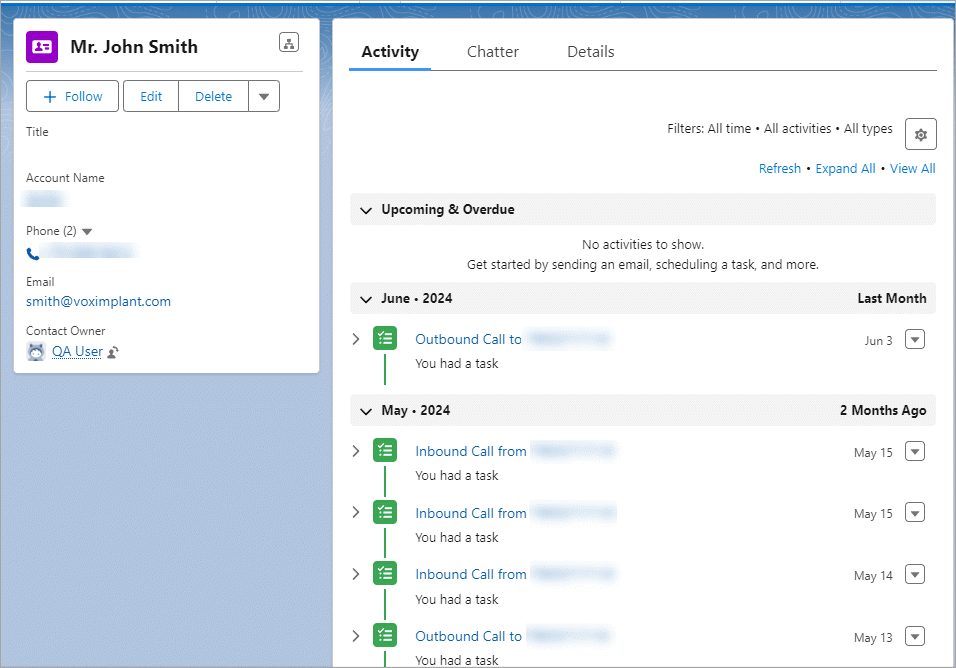
Salesforce then displays the record you selected and logs the call data into it. You can see the communication history on the Activity tab.
Creating a new record in Salesforce
If no records are found for the phone number, the CTI panel widget offers you the following options:
Create Lead
Create Contact
Skip
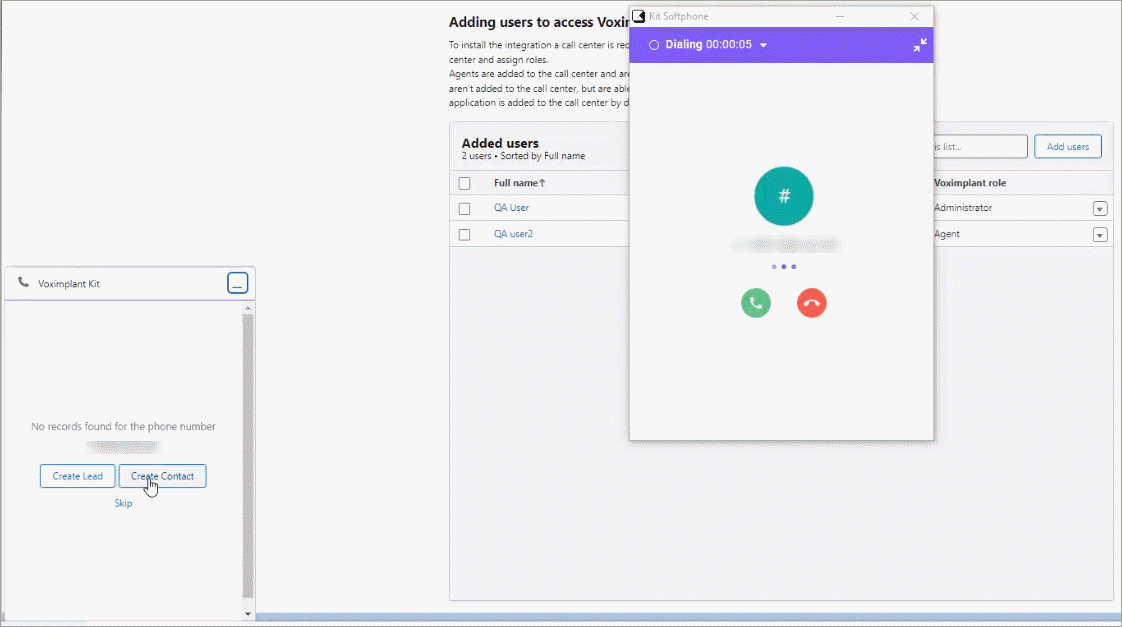
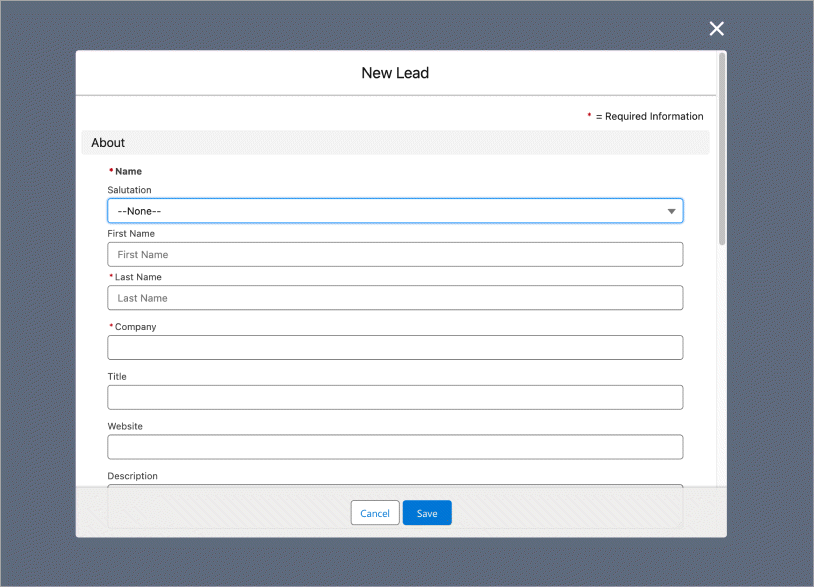
If you select to create a new record, fill out the required fields in the window that opens and click Save.
Click-to-call
Outbound call can be initiated from any lead or contact record page. The Voximplant kit softphone starts dialing the customer from the selected or default softphone Caller ID.
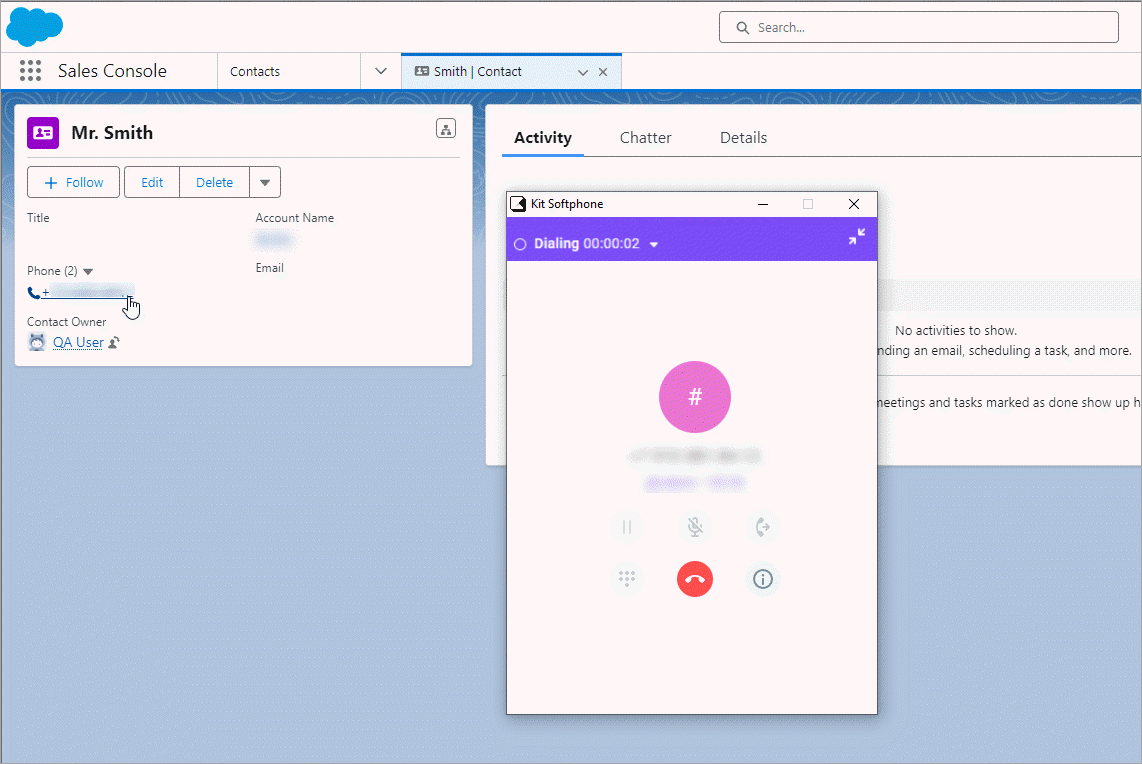
You can also initiate an outbound call from list and search views. In this case the associated contact record opens automatically.
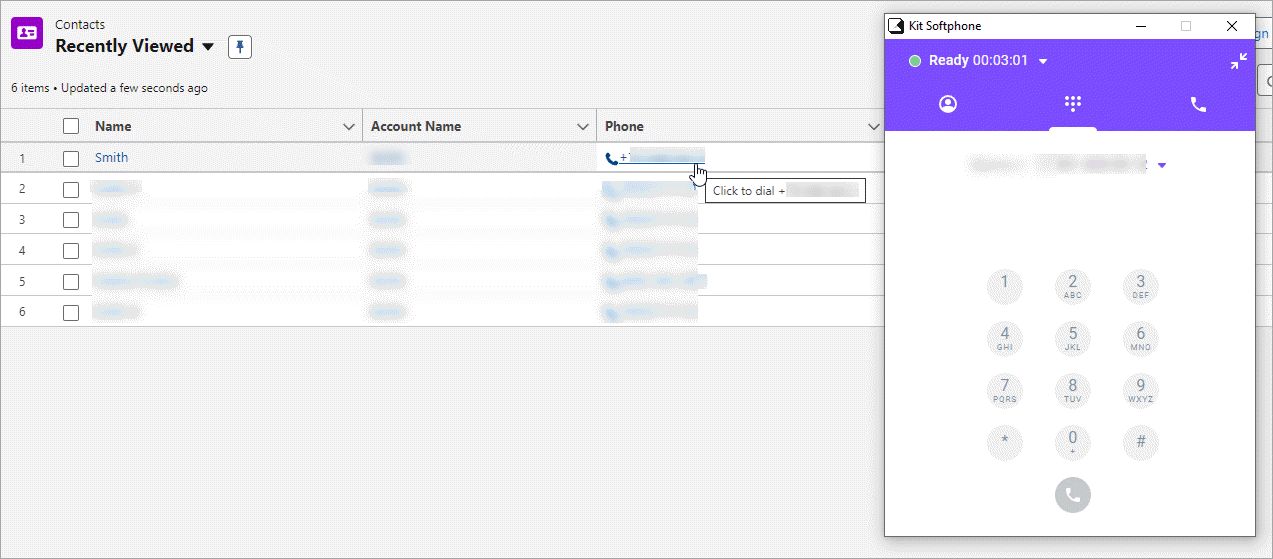
After the voice communication is finished, you can check the call results on the Activiy tab of the record page.

Call details in associated records
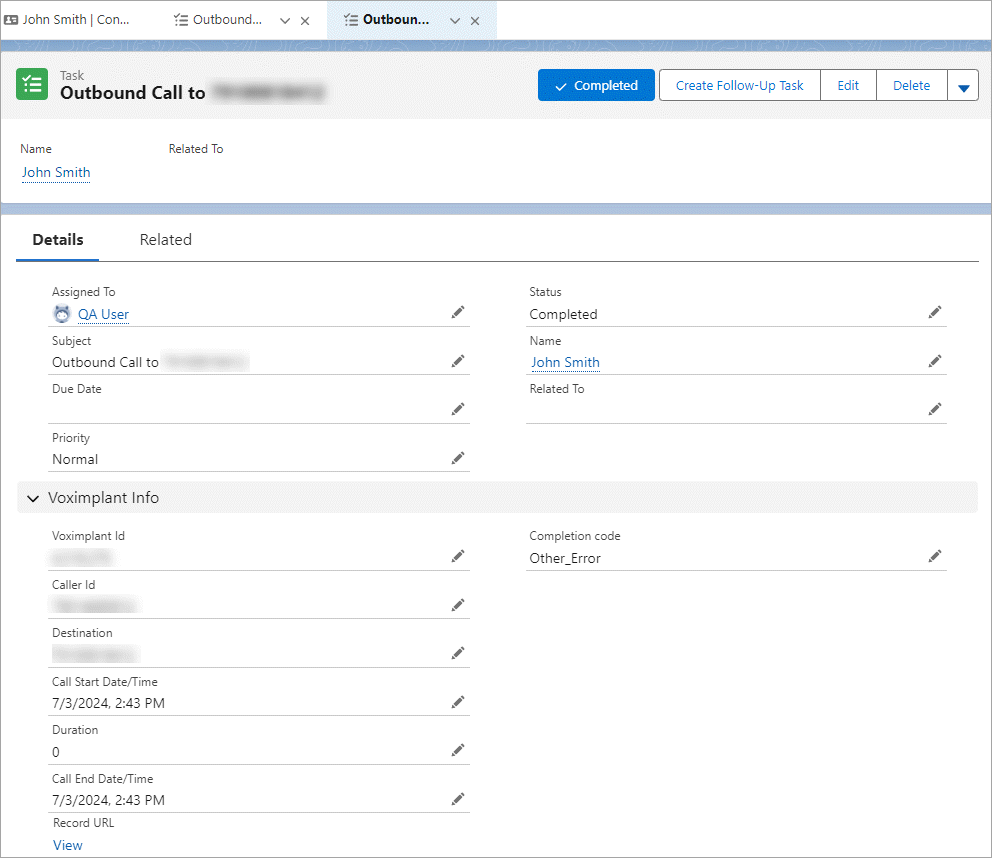
For each call communication, the system automatically creates a Task record and associates it with the lead or contact record you select. The task contains detailed information about the phone call. You can find this information by clicking any call on the Activity tab in a contact/lead record.
The task record includes the following call details:
Call start date and time
Call end date and time
Call duration
Record URL (if any)
Assiged agent
Caller ID
Call type
Completion code
