Configuring an email account
In the Email section, you can configure the email address that the system will use in the Sending email block.
- Log in to your Voximplant Kit account.
- Navigate to Administration > Integrations > Email.
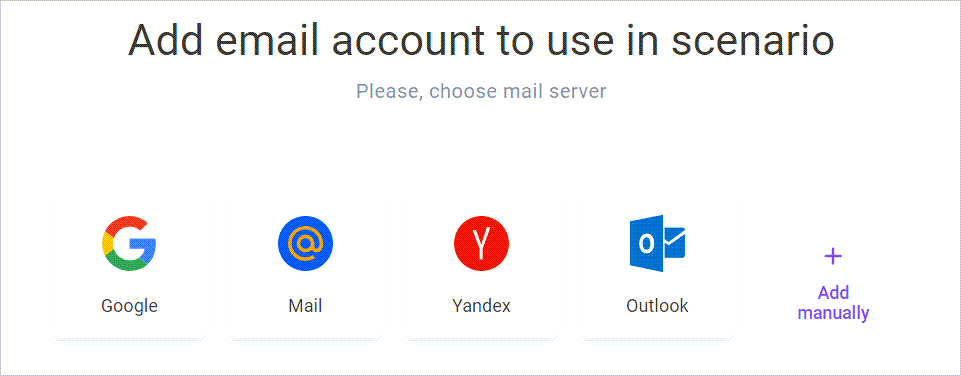
- Select an email server by clicking on one of the tiles, or click Add manually.

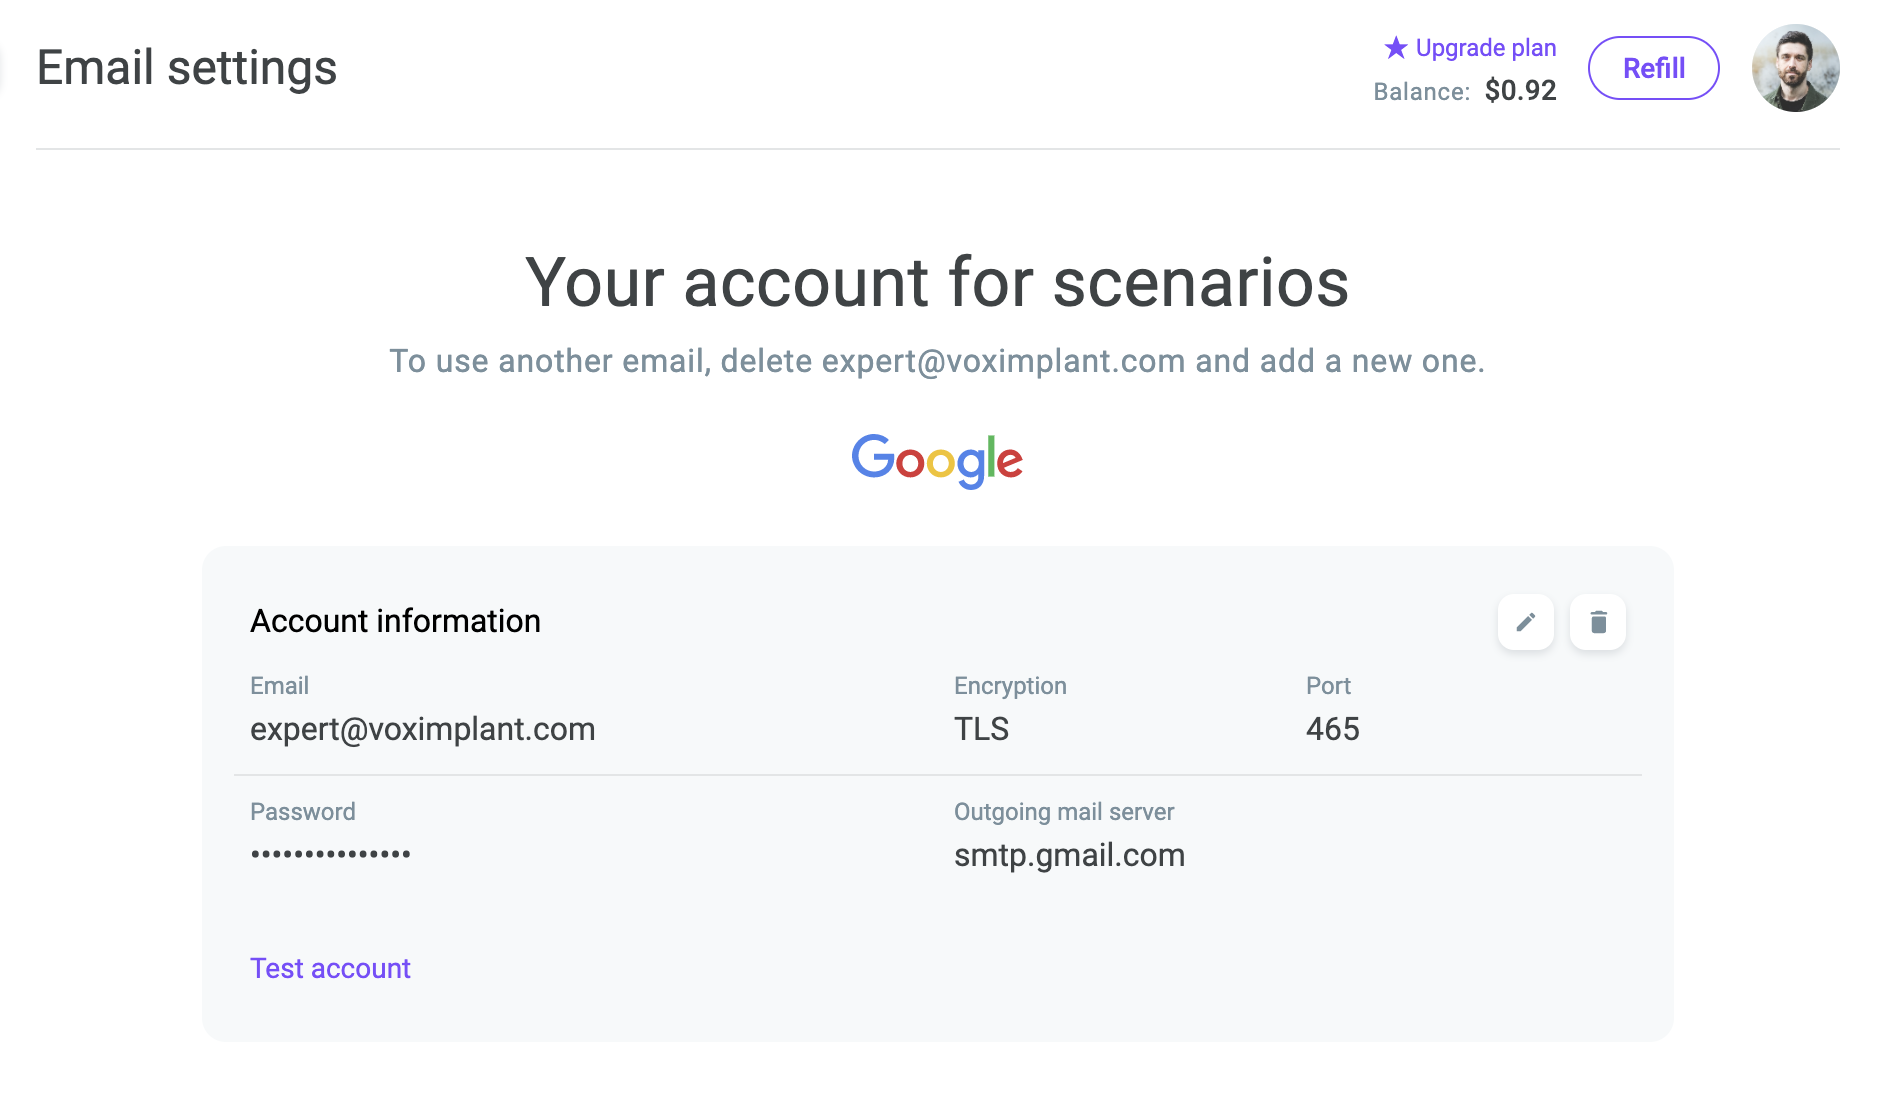
- Enter the Email address and Password to be used for sending emails in your scenarios.
When connecting a Google account, enter an app password instead of your mailbox password. An app password is a 16-digit passcode that gives a less secure app or device permission to access your Google Account. For more information on how to create a new app password or set up an existing one, go here.
- Select the Encryption type required to ensure data privacy and prevent data breaches.
- In the Outgoing mail server field, enter the domain name of the server (SMTP). This server transfers your outgoing emails from your system to the incoming server of your customer, where they can pick it up.
- Enter the Port number that the server will use to process SMTP-requests.
- When finished, click Save.
- Click Test account to ensure that the system propery connects to the email account.
If the system fails to connect to the email account, you will see an error message.
You can use only one email address in scenarios.
To edit the email address, click the pencil icon in the upper right-hand corner. Edit the email settings as required and click Save.
You might need to allow less secure applications access to your mailing service to attach an email address.

