Reviewing conversation history
Voximplant Kit captures the full history of conversations.
The Conversation history section is available to users with the Manager, Administrator, and Owner roles. Users with the Supervisor role can view their agents' conversation history. If the Enable access to message history switch is enabled in the general CC or group settings, supervisors and agents can see the history of their own conversations.
To view conversation history:
- Log in to your Voximplant Kit account.
- On the left sidebar, click History.
- Select the Conversations tab.
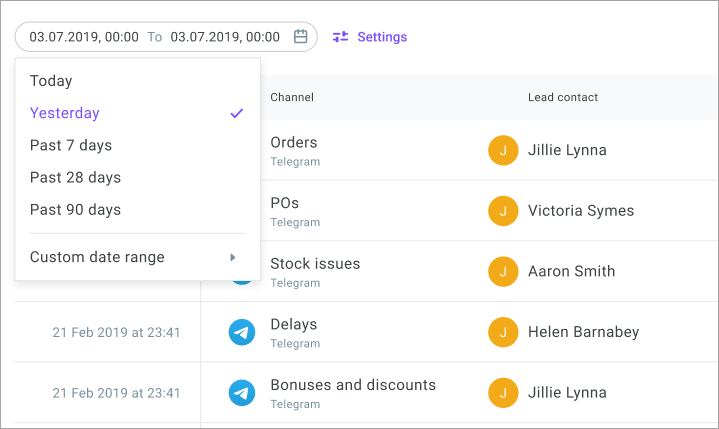
- In the Calendar field, select the history report date range. You can select one of the predefined values or specify a custom date range.
- The conversation history table contains the following columns:
Date and time – conversation start date and time.
Channels – channel that received the customer request.
Conversation ID – conversation unique identifier.
Duration – duration of the conversation.
Lead contact – customer name.
Phone number – customer phone number.
Closed – conversation status: closed or open. If the conversation is closed, you can also see the name of the agent who closed the conversation as well as the closure date and time.
Queue – queue that processed the chat.
Tags – tags added to the conversation.
Topics – topics assigned to the conversation, if any.
Notes – conversation notes. Click on the cell to see the list of all notes added to the conversation.
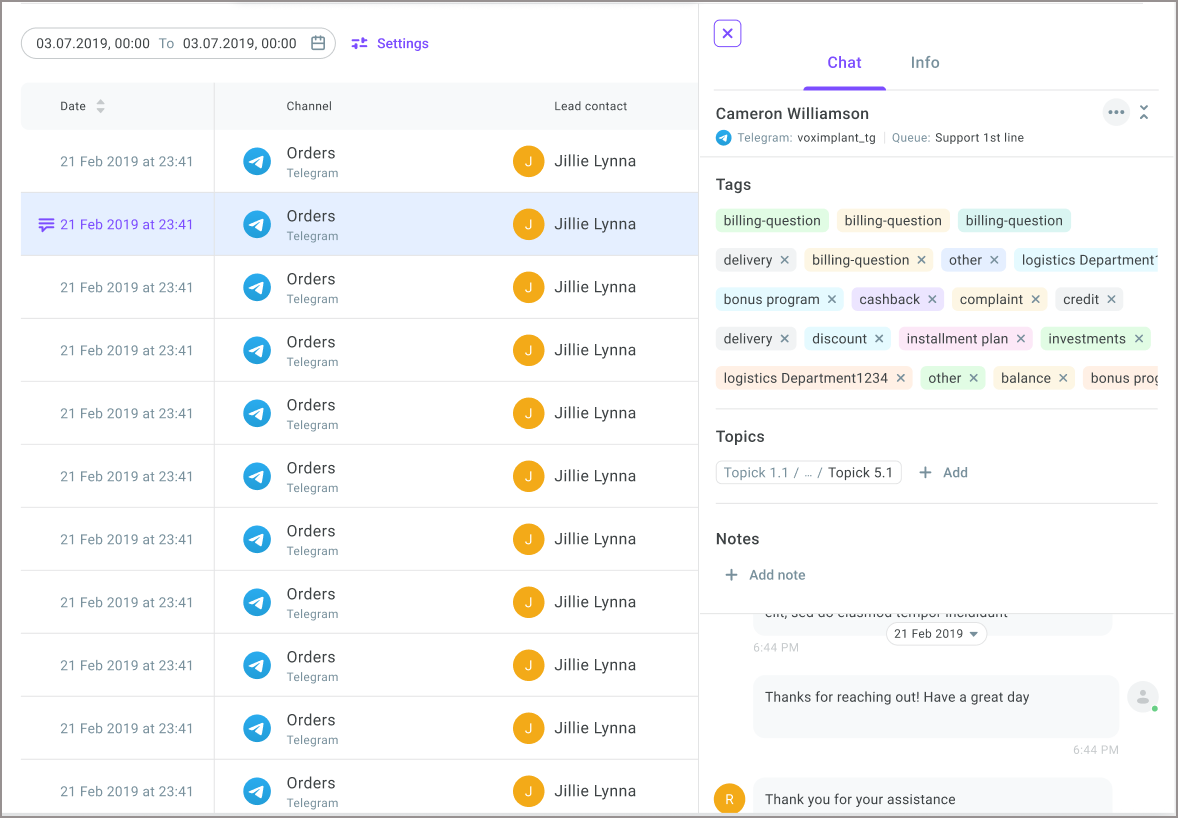
- Click on the required conversation to open the chat window and review the conversation flow, as well as added notes, tags, topics, and customer information.
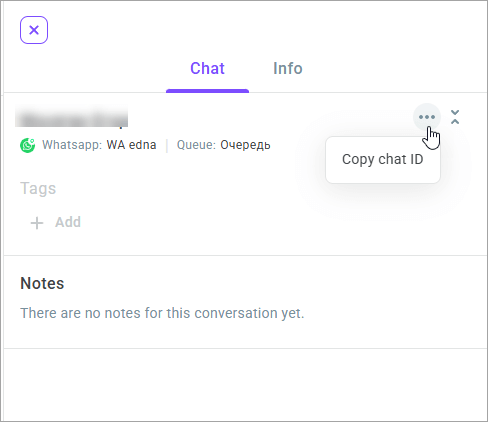
- Use the Action menu to copy the chat ID.
- Click Settings if you need to apply additional filters or customize your conversation history view.
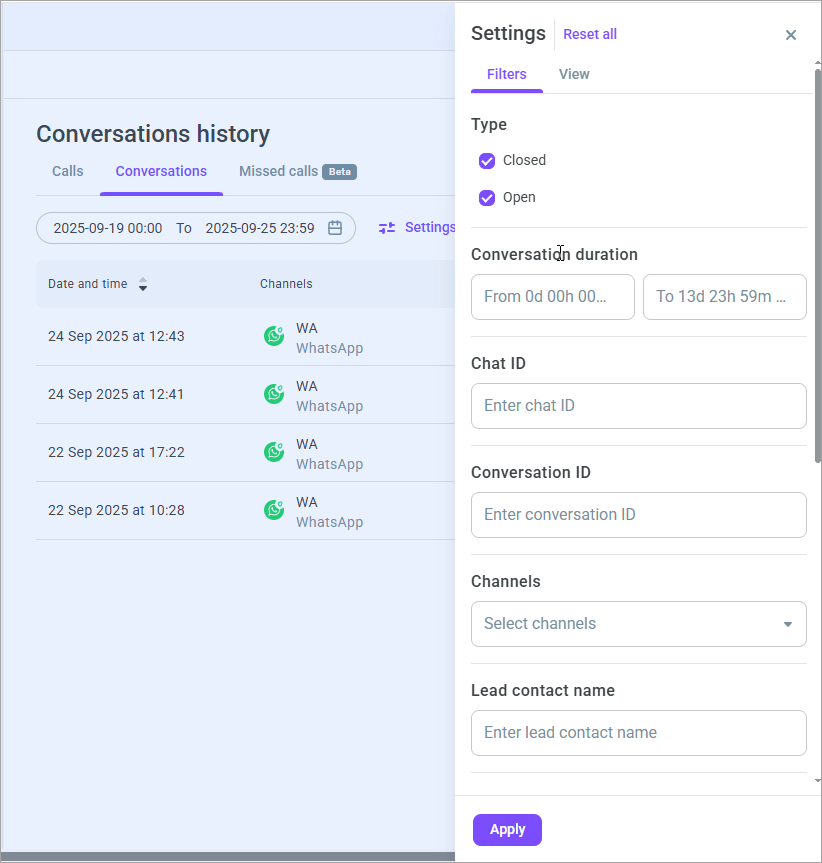
On the Filters tab, the following filtering options are available:
Conversation type
Conversation duration
Chat ID
Conversation ID
Channels
Lead contact name
Phone number
Groups
Agents
Queues
Tags
Topics
On the View tab, customize your view by selecting the required columns.
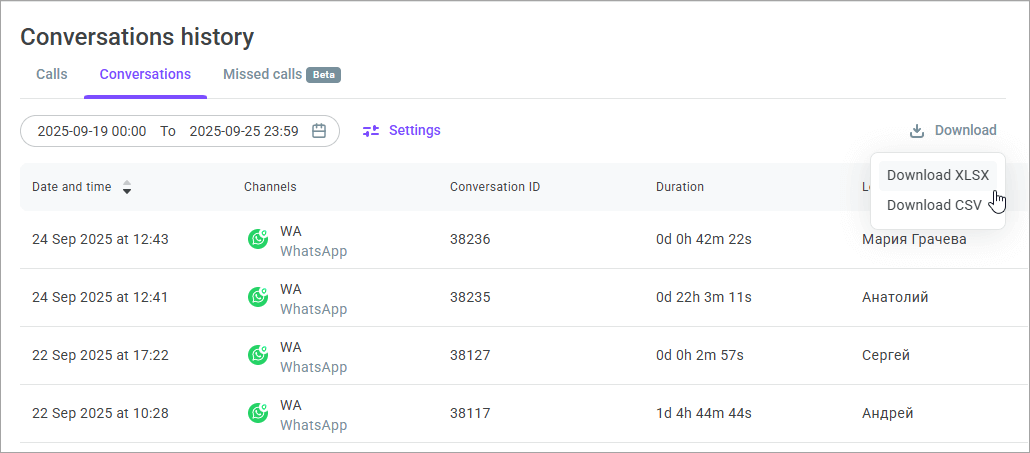
- Click the Download button and select how you want to export the call history report:
Download the report as an XLS file
Download the report as a CSV file
