External ASR providers
Voximplant speech recognition has a variety of engines such as Google, Amazon, Microsoft, Yandex, or T-bank. You can find the profile names here.
However, if these engines are not enough for your project, you can connect external speech-to-text providers via websockets.
Prerequisites
To implement the WebSocket and the speech recognition functionality in your app, you need:
- An application, scenario, user to log in to a web client, and routing rule
- Simple backend (here it is a node.js server) along with a cloud client library for Speech-to-Text API
- A Web client to make a call (e.g. our webphone at https://phone.voximplant.com/)
JavaScript scenario
The Voximplant cloud opens an outgoing WebSocket connection to send audio through it. This connection is opened with a backend server which, in turn, exchanges data with Google Cloud Speech-to-Text API.
Log in to your account and create a new application and a scenario in it. The scenario should contain the following code:
You get the WebSocketEvents.MESSAGE event when the connection is up. All the other WebSocket events in the code are for debugging purposes. The appropriate handlers do nothing but write info to a session log. You are free to get rid of them if you want to.
Now, create a rule (to enable proper scenario execution) and a user in your application.
Switch to the Routing tab of your websocket application and click New rule. Give it a name, assign your JS scenario to it, and leave the default call pattern ( .* ).
Create a user for the application. Switch to the Users tab, click Create user, set a username (e.g., socketUser) and password, and click Create. You need this login-password pair to authenticate in the web client.
The configuration is ready.
Backend server (Node.js implementation)
The backend server serves as an intermediary between the Voximplant cloud and an external speech recognition service, in our case the Google Cloud Speech-to-Text API. The backend accepts audio from Voximplant, parses it, and sends it in base64 format to Google.
First, make sure that you have Node.js installed on your computer. If not, download it from here. Then run the following commands one by one in your Terminal to set up the working environment:
npm install express
npm install ws
npm install @google-cloud/speech
When done, create an empty JS file and put the following code in there:
As the server code uses the ws and @google-cloud/speech packages, install them before running this code.
Obtain and provide your service account credentials to connect the Google library to its backend. To do this, go to the Google Authentication page and complete all steps. Then run this export command in the same workspace (the same Terminal tab) before executing node your_file_name.js:
export GOOGLE_APPLICATION_CREDENTIALS="/home/user/Downloads/[FILE_NAME].json"
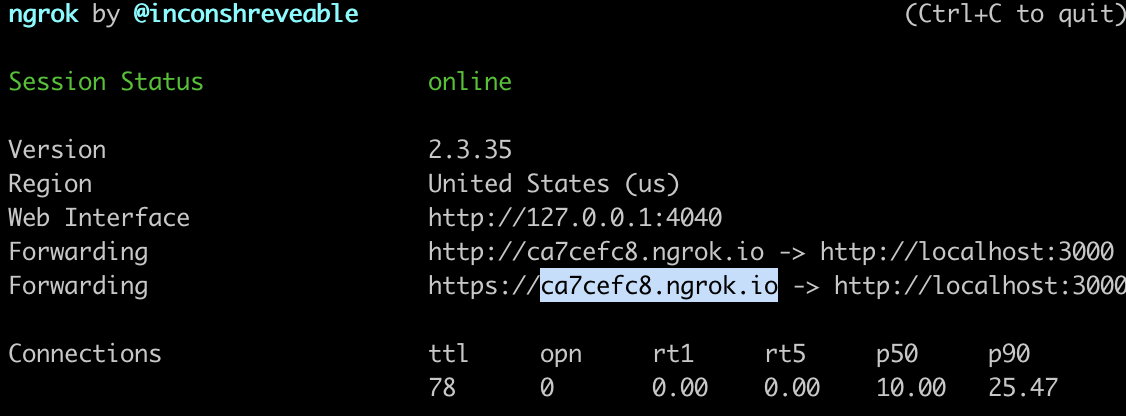
Finally, your locally running server should be exposed to the Internet via the ngrok utility. It generates a unique public URL that you need to substitute for an example value with the 'wss' prefix in your Voximplant scenario, line 7:

How to check transcription
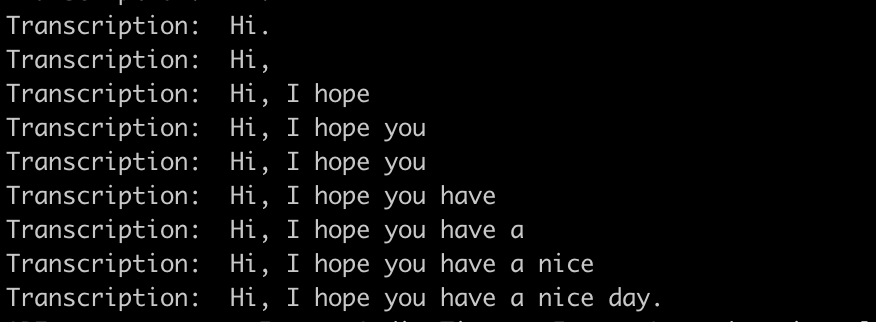
You can log in as a user of the Voximplant application (enter the username and password that you created earlier) in a web phone, e.g., https://phone.voximplant.com/, click Call and start talking. You see the transcription results in your Terminal window in real-time.

