Working with the file storage
The storage allows you to upload and store files in folders for further use in the Workspace and scenarios.
Contents
Uploading audio recordings
Upload audio recordings and use them in scenarios.
- Log in to your Voximplant Kit account.
- On the left sidebar, select Setup > File storage.
- Go to the Audio records subsection.
- Click Upload.
Important
Audio files must be in MP3 format. The file size must not be greater than 10 MB.
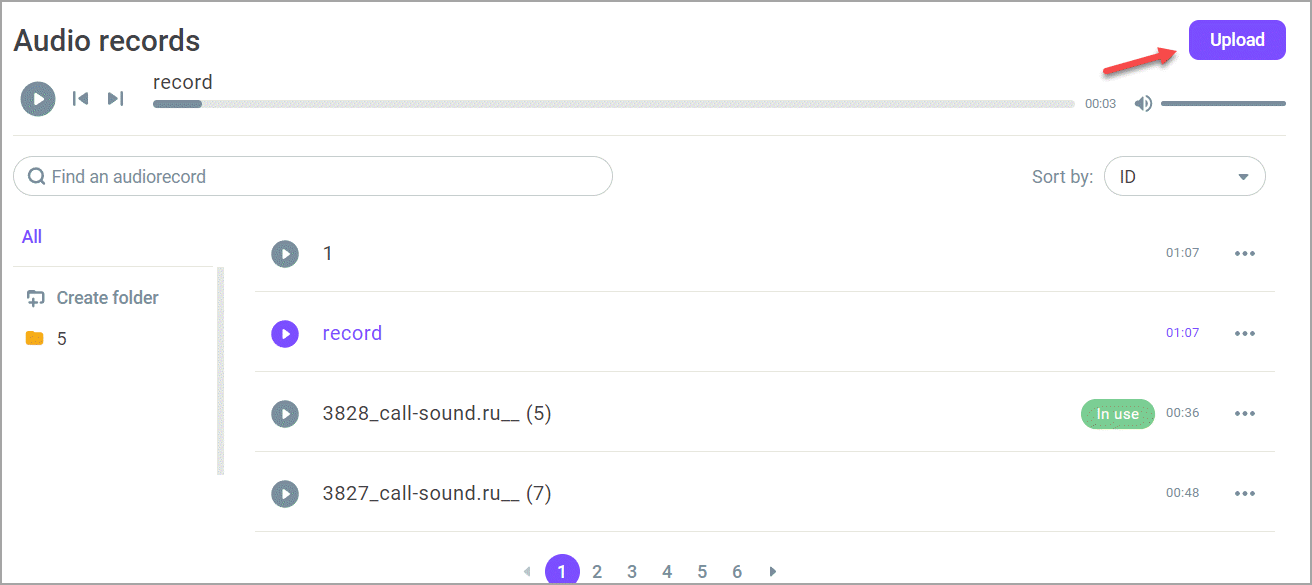
- Select the audio file you want to add and click Open. The system adds the file to the storage. You can also drag and drop the file.
- Use the search field to find the required audio recording.
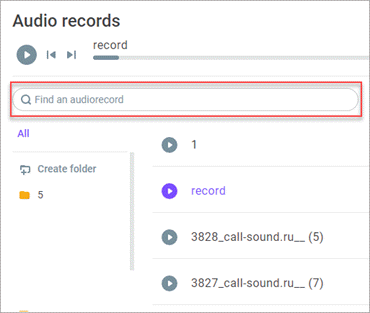
- If required, create a folder to store different groups of recordings. You create folders in the left column of the section. By default, the system puts files in the root folder.
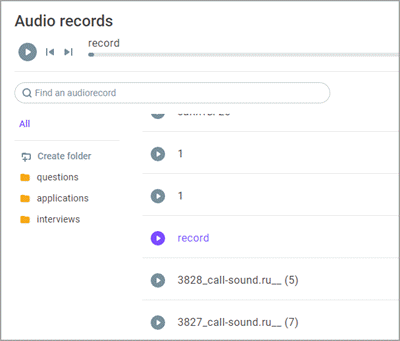
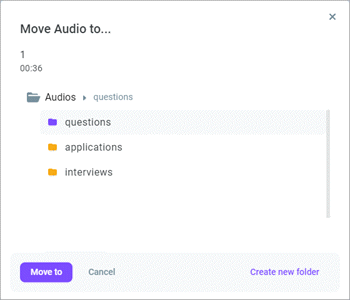
- Use the Action menu to rename or move the file to another folder. If you do not have any folders, click Create new folder to locate the file in a new folder.
- Click Delete and confirm the deletion if you no longer need the file.
Important
You cannot delete audio recordings used in ongoing scenarios.

Working with attachments
Upload attachments and use them in text channels.
- Go to the Attachments subsection and click Upload.
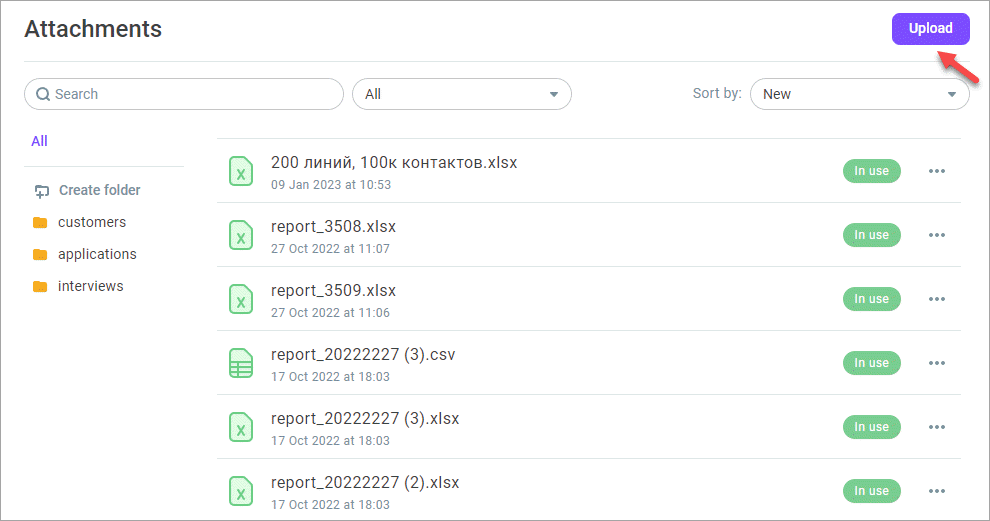
- Select the file or several files from your PC and click Open, or drag and drop the files. The system adds the files to the storage.
Important
You can upload a maximum of 100 attachments to the storage. The maximum attachment size depends on its type: audio files - 200 MB, video - 50 MB, images - 50 MB, documents - 200 MB.
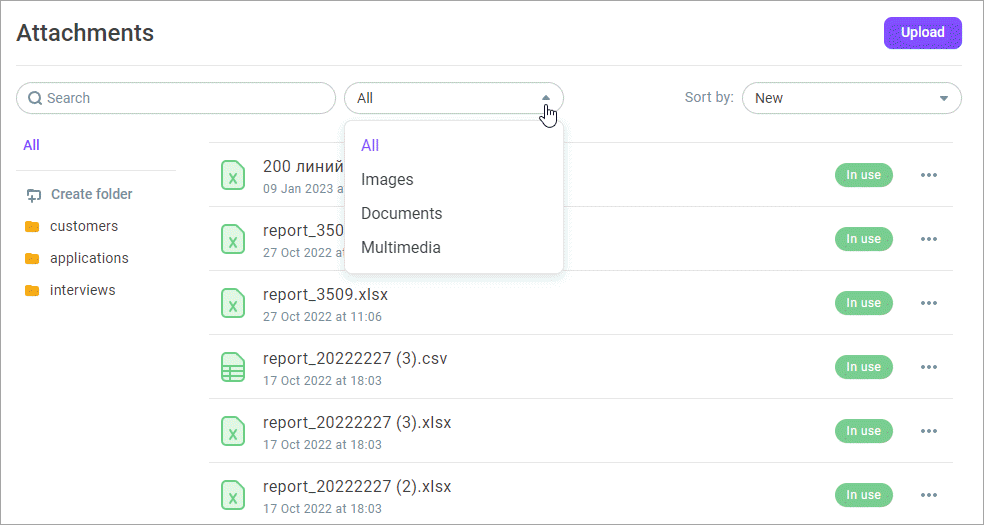
- Use the search field or filter the records by attachment type to find the required file.
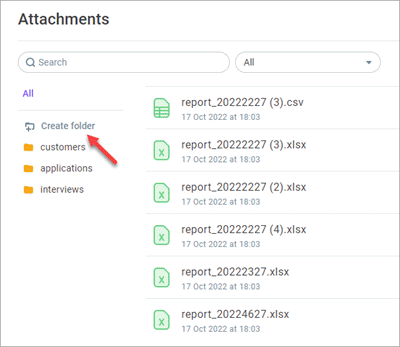
- If required, create a folder to store different groups of attachments. You create folders in the left column of the section. By default, the system puts files in the root folder.
- Click the uploaded file to see its properties. Click the avatar in the file properties to preview images and videos.
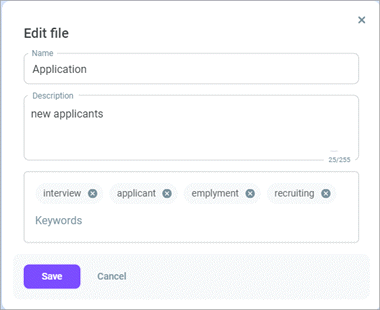
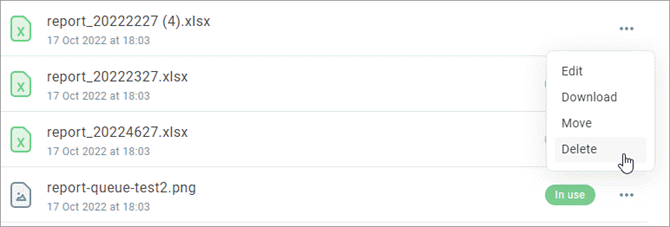
- In the Action menu, select Edit to change the file name and add a description and keywords (up to 10). When adding keywords, press Enter after you enter each keyword.
- Use the Action menu to download the file to your PC or move it to another folder. If you do not have any folders, click Create new folder to locate the file in a new folder.

- Delete the file if you no longer need it. Select Delete in the Action menu and confirm your action.
Important
You cannot delete files used in message templates.
