Function for adding buttons to a Telegram chat
In this article, you will create functions for adding buttons to a Telegram chat and route customer messages to these functions.
Telegram supports two types of buttons: Inline-buttons and Reply-buttons. In the below examples, you will create functions for adding various button types.
In the first example, create a function for adding Inline-buttons.
Each Inline-button should contain a required text field and one of the optional fields: url or callback_data. If a button contains only callback_data, when a customer presses it, the function is called and the callback_data text displays. If a button has a url and callback_data, or only a url, the button works as a link.
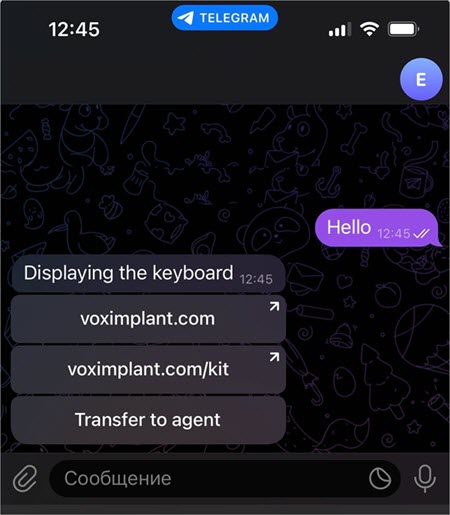
Let us assume that a customer writes to a chat room of a communication services and apps developer in search of a solution for their contact center. According to the function conditions, if the customer writes Hello, the bot displays a keyboard with the following buttons:
Button that goes to the voximplant.com website, where the customer can see the entire product line of the company
Button that goes to the voximplant.com/kit website, where the customer can navigate to the smart contact center section
Button that transfers the customer to an agent
If the customer writes Hello. No keyboard, no keybord displays.
- Create a Telegram channel as shown here.
- Go to Administration > Functions > Management.
- Click New function.

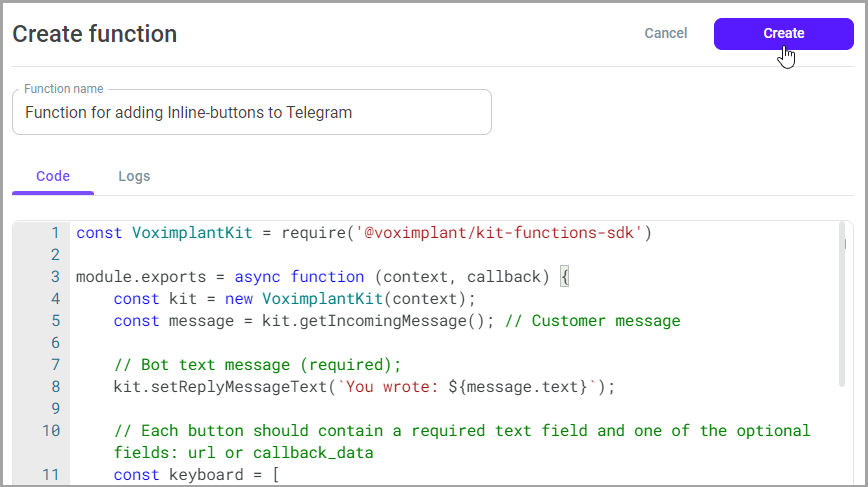
- Copy the following code and paste it into the function.
- Click Create.
- Go to Setup > Conversations > Channels and select the Telegram channel you created earlier.
- Select Functions in the Redirect channel messages field.
- From the drop-down list, select the function you added.
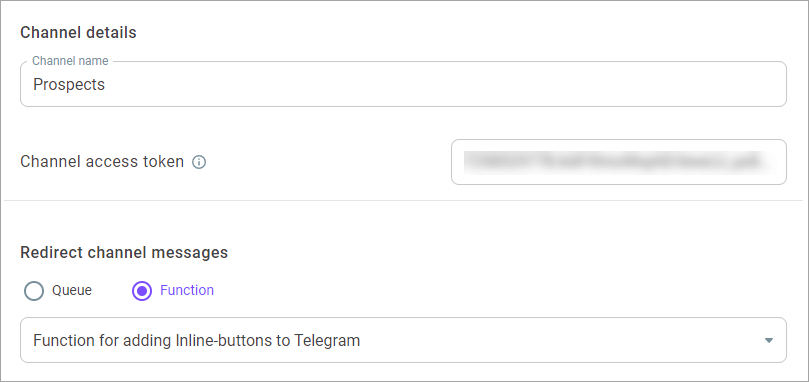
- Click Save changes.
After a welcome message, the buttons will now display in response to a customer.
Now, create a function for adding Reply-buttons. These can be regular buttons or buttons that contain a location or contact.
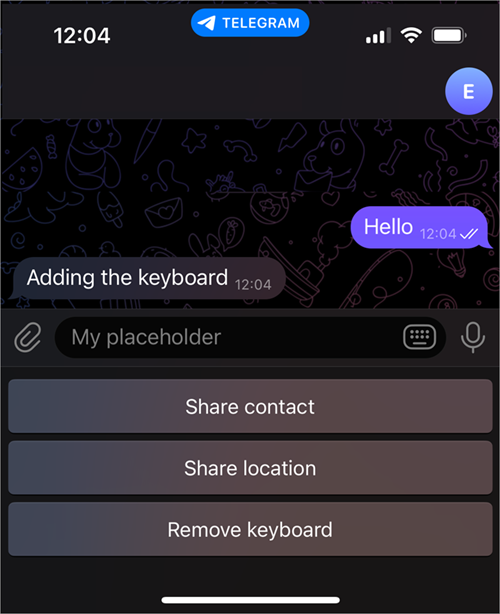
Let us assume that a customer writes to the Find a friend nearby service. According to the function conditions, if the customer writes Hello, the bot displays a keyboard with the following buttons:
Button that will share the location to find people nearby
Button that will share a contact to find a specific person
Hide keyboard button (if the customer wants to stay in the chat)
If the customer writes Remove keyboard or presses the respective button, the keyboard is removed.
According to the function conditions, if the customer message contains No keyboard, the bot does not display the keyboard.
For more information on the optional keyboard settings, go here.
- Go to Administration > Functions > Management.
- Click New function.

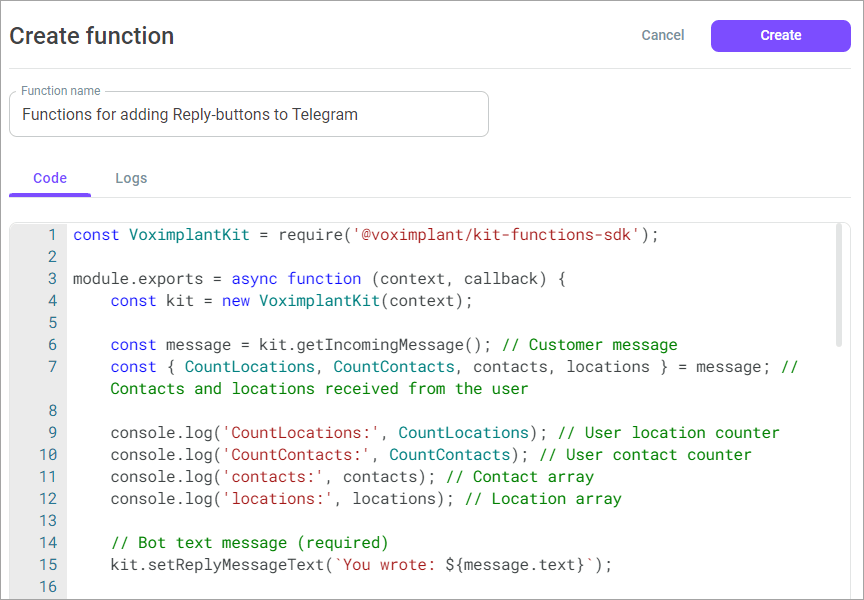
- Copy the following code and paste it into the function.
- Click Create.
- In the Redirect channel messages field in the channel settings, select Function.
- Select the function you added earlier from the drop-down list.
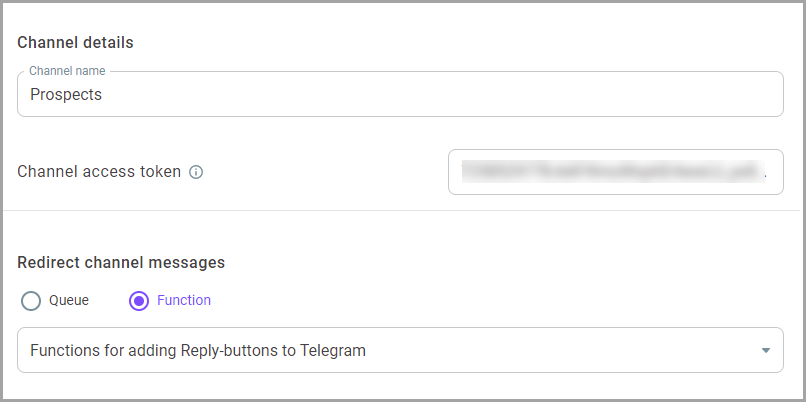
- Click Save changes.
After a welcome message, the buttons will now display in response to a customer.
The button options offered to the customer or the selected option then display in the History > Messaging history and Reporting > Live monitoring > Conversations sections.
