Creating functions
Functions help you create a serverless environment that allows developers to create production-ready Voximplant Kit applications in accordance with their business requirements.
In Voximplant Kit, functions are written on Node.js. You can add extra functionality by uploading the appropriate packages.
Creating a function
Use the Function section to bring together functions, dependencies, and environment variables. In this section, you can also access all functions to edit or delete them if needed.
To avoid any problems affecting the Voximplant Kit work, please, make sure you know the rules of functions in programming languages.
- Log in to your Voximplant Kit account.
- On the left sidebar, select Administration > Functions.
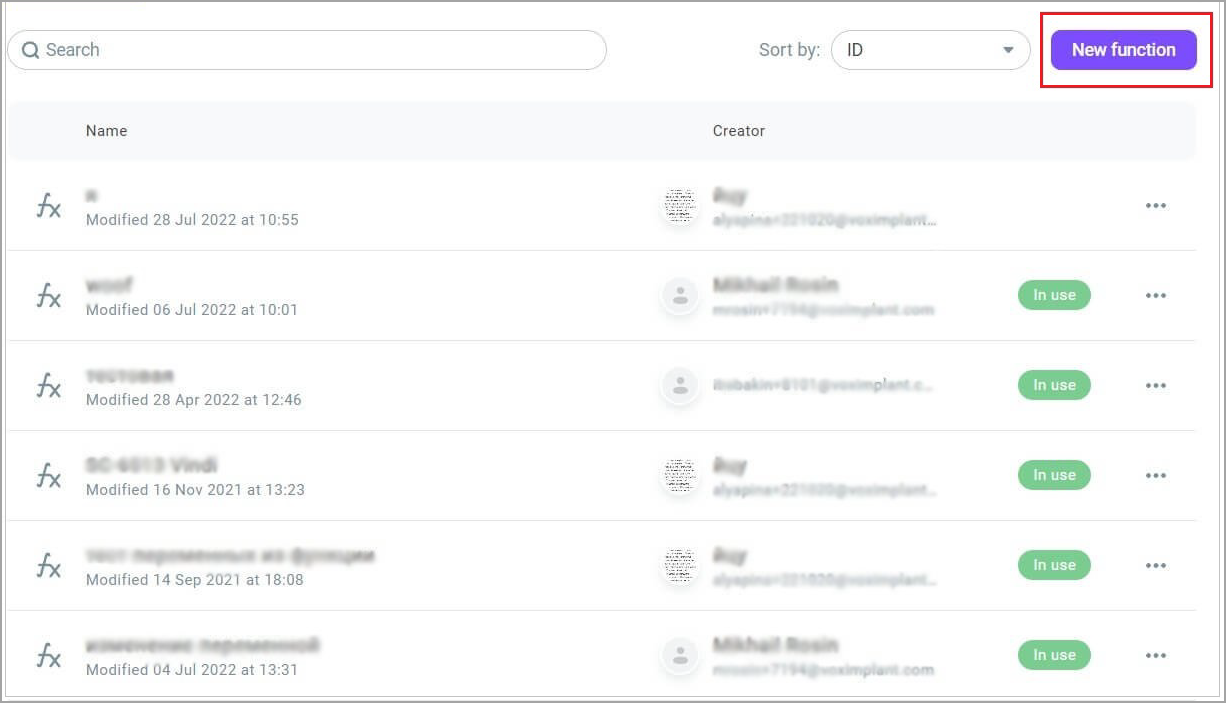
- In the Management subsection, click New function. The system opens the Create function window where you can configure your function.

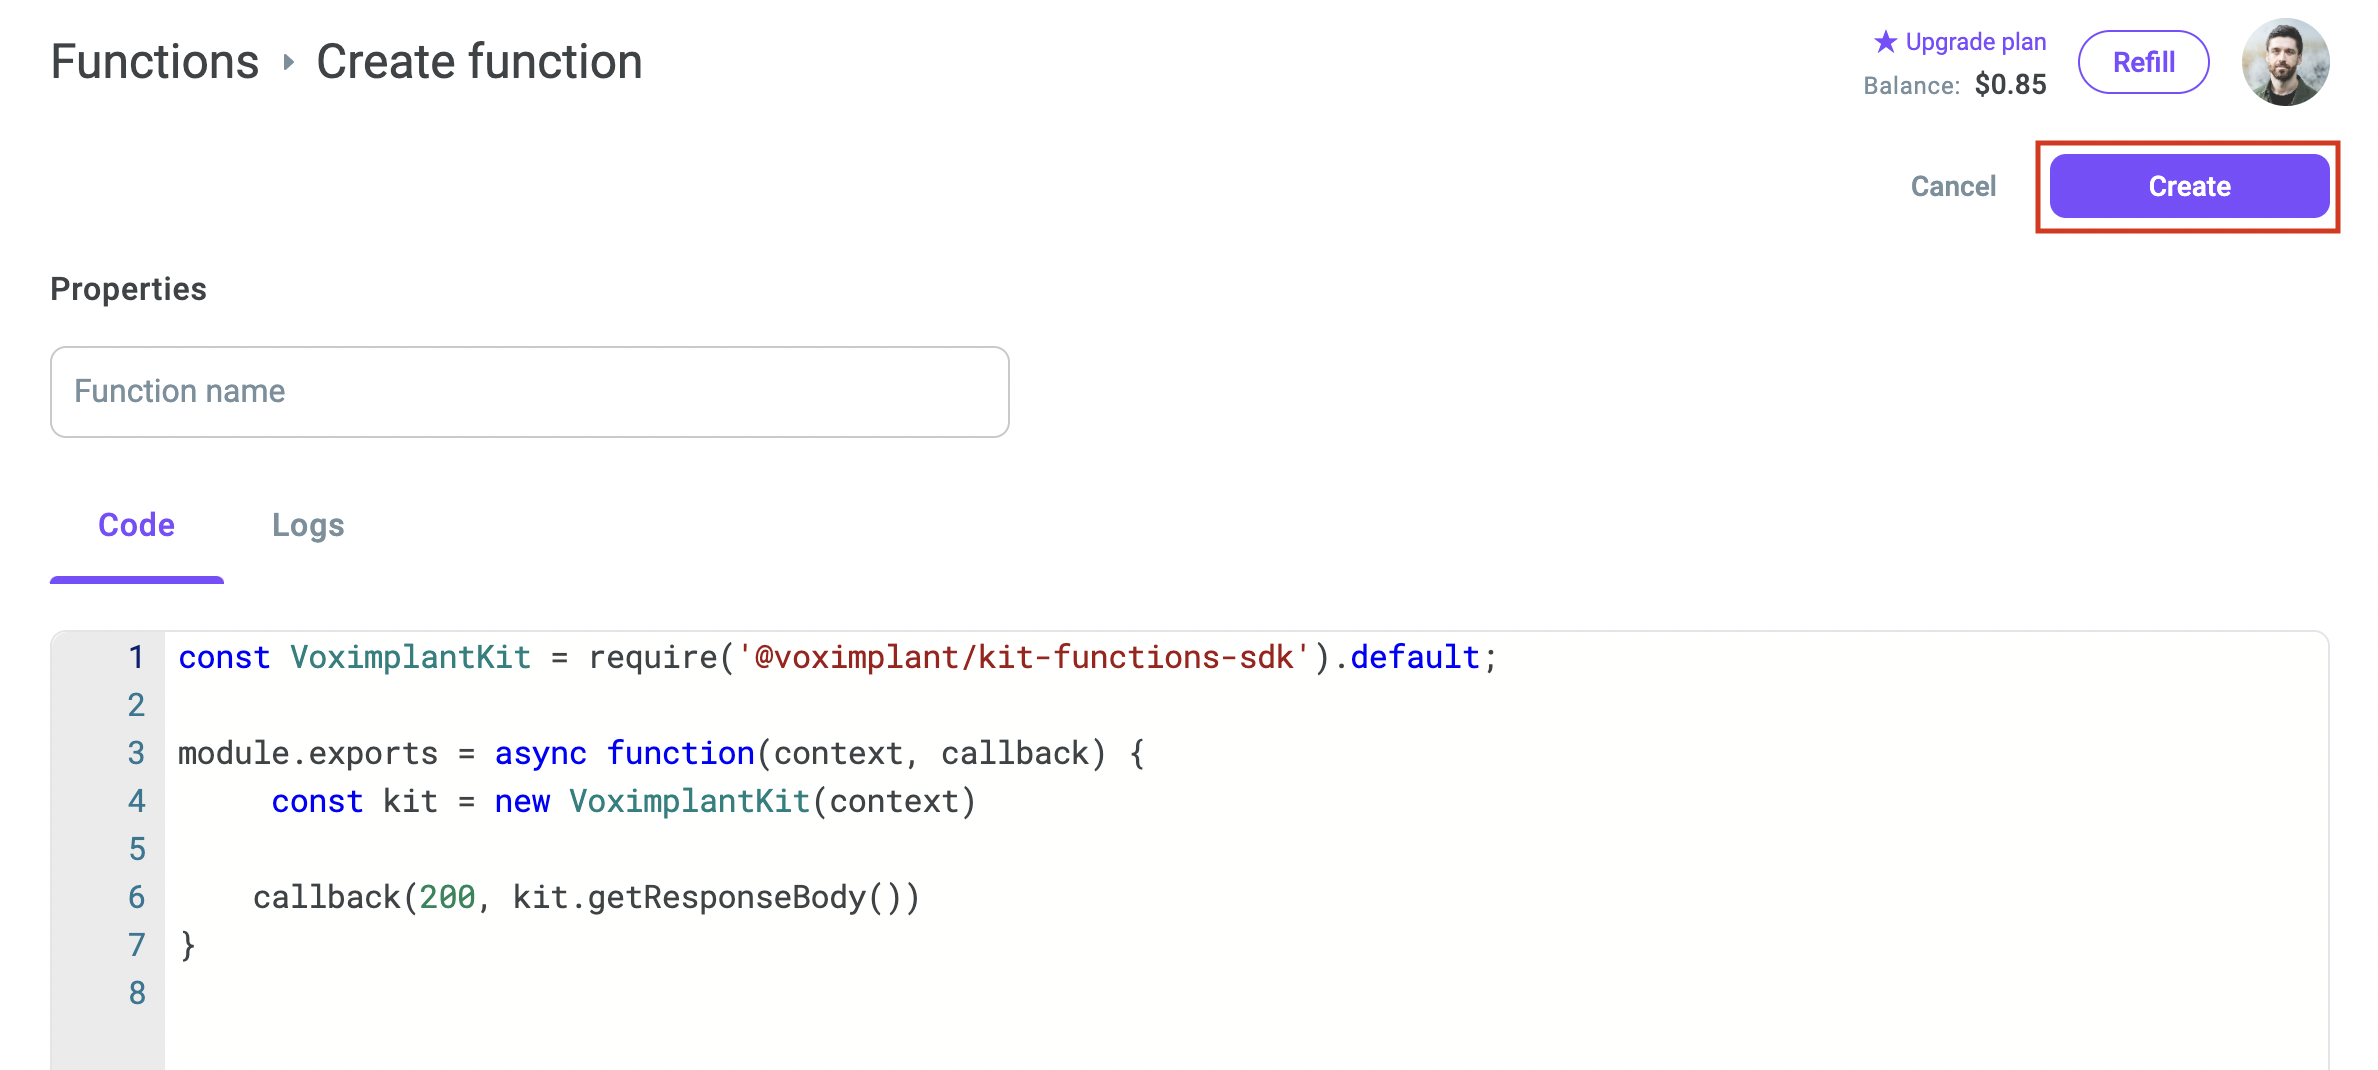
- In the Properties field, enter the name of the function.
- On the Code tab, enter the code you want to execute.
- Click Create.

Click the Logs tab to review the information about the executed code.
Learn here about the methods you can use in your functions. For example, you can configure a chatbot and use it to process outbound chats.
The getVariable and setVariable methods allow you to extend manipulations with variables used in a scenario.
Here are the examples of using functions in Voximplant Kit.
Creating a dependence
The system allows functions to use external Node.js modules as well as local data. Dependencies in Node.js are managed with npm and stored in a package.json file.
To import npm modules to Voximplant Kit functions, do the following:
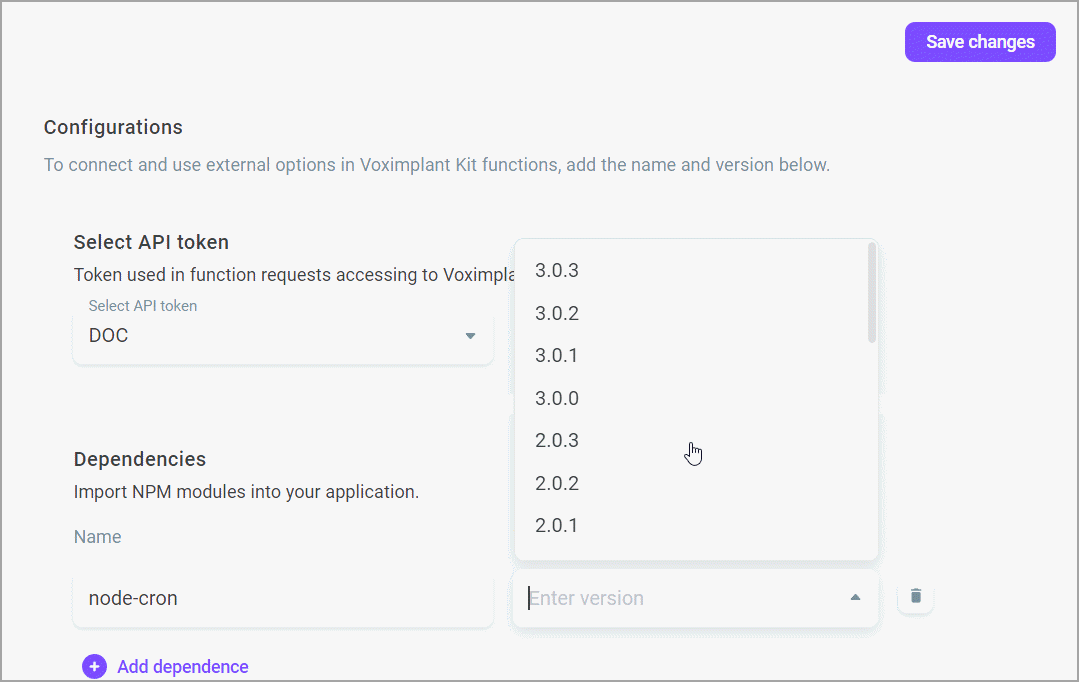
- Select the Configuration subsection.
- Select the API token from the drop-down list.
- In the Dependencies group box, enter the name of the dependence and select or enter the version of the npm module.

- Click Save changes to install and deploy the npm module.
Adding a variable
Variables are key and value pairs that you can add to a specific environment. The system encrypts variables, so you can use them as a preferred way to store API keys, passwords, and any other data. You do not need to deploy a new code every time you update a variable – the system immediately reflects the new value in subsequent function executions.
To add a variable, do the following:
- Go to the Variables subsection.
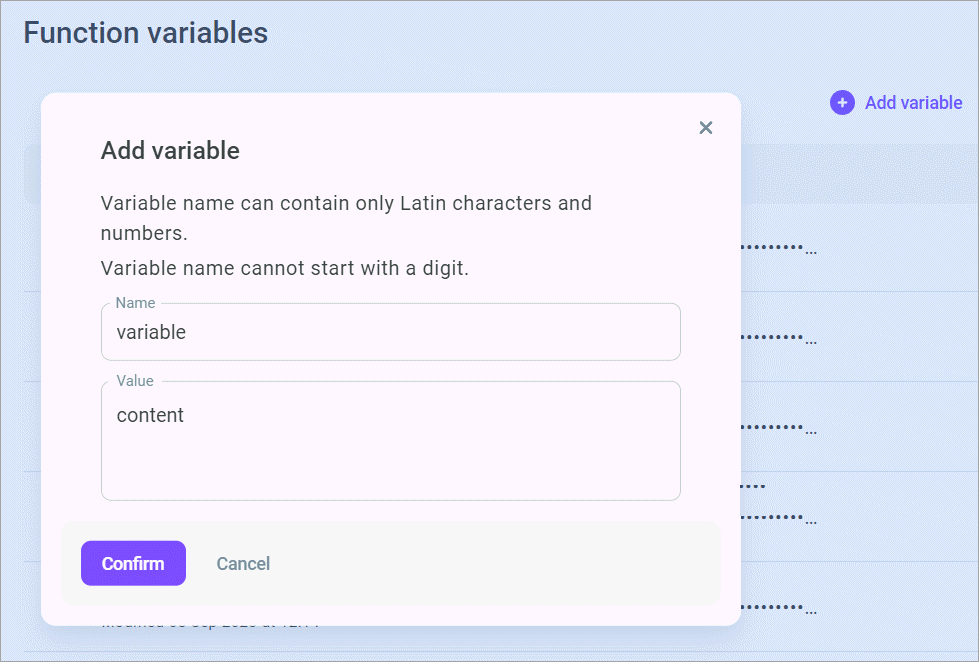
- Click Add variable.
- In the Add variable dialog window, enter the name and value of the variable.
- Click Confirm.

To edit a variable, do the following:
- Click the Action menu icon next to the required variable.
- Select Edit.
- In the dialog window that opens, edit the name or value of the variable.
- Click Save changes. The system updates the variable.
To delete a variable, do the following:
- Click the Action menu icon next to the required variable.
- Select Delete.
- Confirm the deletion.
