Dialogflow ES
This article will guide you through the process of connecting a Dialogflow ES agent to incoming and outgoing calls, as well as transferring a call from a Dialogflow bot to an agent.
Dialogflow, a virtual agent, facilitates conversations with your end-users. It employs a natural language understanding module that comprehends the intricacies of human language.
Dialogflow ES is the standard agent type that is suitable for small to medium businesses and simple to moderately complex agents.
Use the Dialogflow connector to connect a call running via Voximplant with a Dialogflow agent that employs speech recognition, natural language processing (NLP), and speech synthesis based on its logic. Real-time audio streaming occurs between Voximplant and Dialogflow, and query results are promptly received by VoxEngine as soon as they are returned by the agent.
Incoming and outgoing calls
Set up Dialogflow
Recheck that your Dialogflow agent uses API V2. Now create and download the service account JSON file associated with the agent from the GCP console (please read the Setup authentication article for details). Choose the "Dialogflow API Client" role while creating the service account. Voximplant requires the JSON file for authorization before sending audio data to the agent.
Click on the Speech tab in the agent settings to set up speech synthesis options.
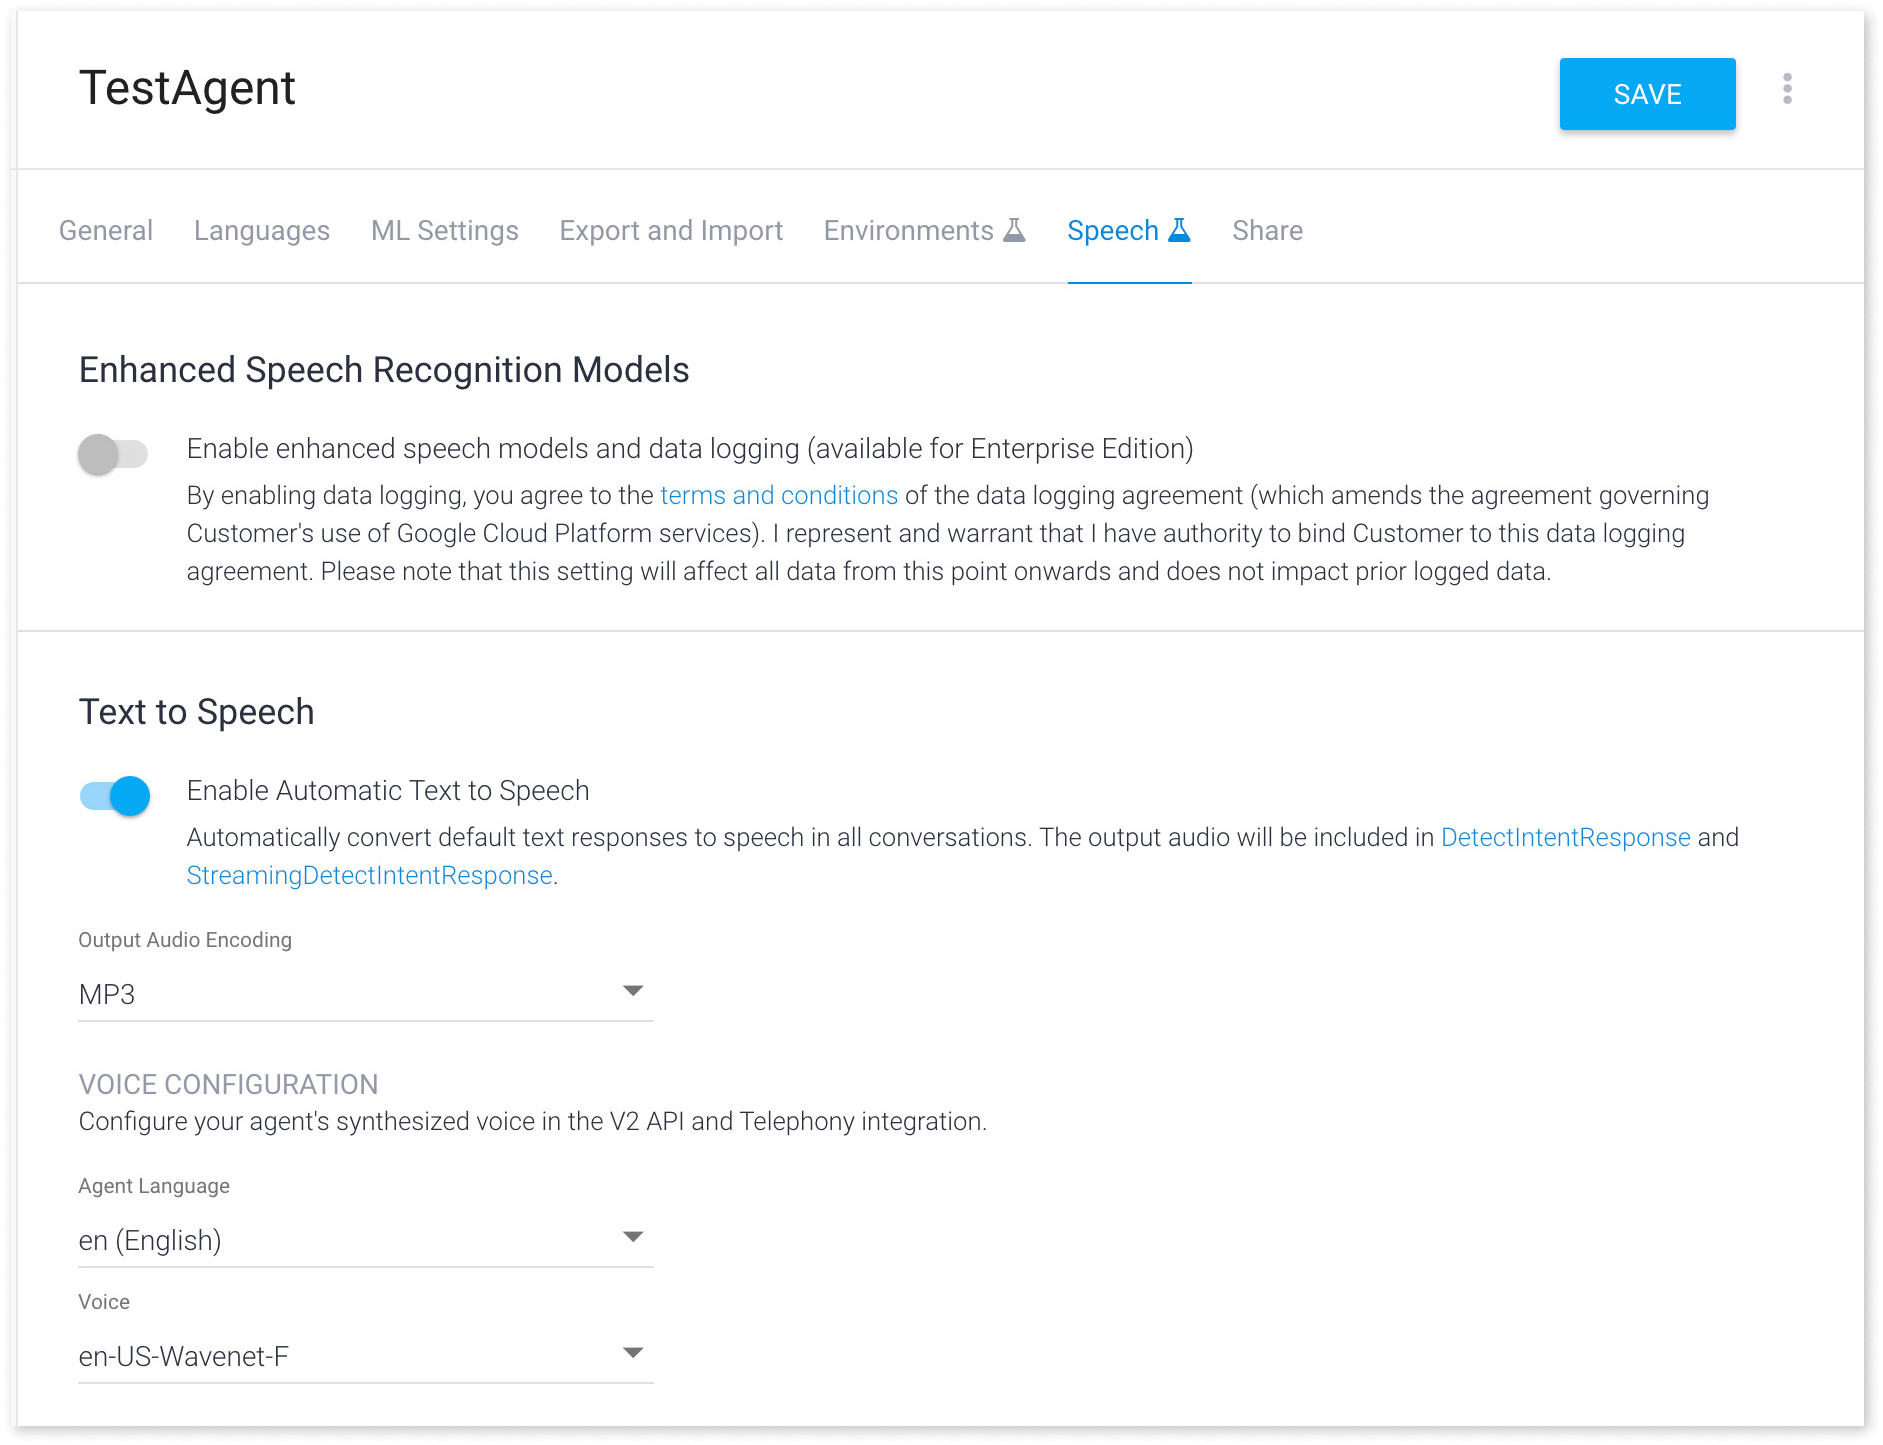
Enable automatic text-to-speech by clicking the toggle button. Choose MP3 or OGG from the Output Audio Encoding dropdown menu. (IMPORTANT: Only MP3 and OGG are currently supported.) Select one of the available voices. We highly recommend using WaveNet-powered voices, as they sound significantly better than standard options. Save your settings by clicking the Save button in the top right corner.
Set up Voximplant
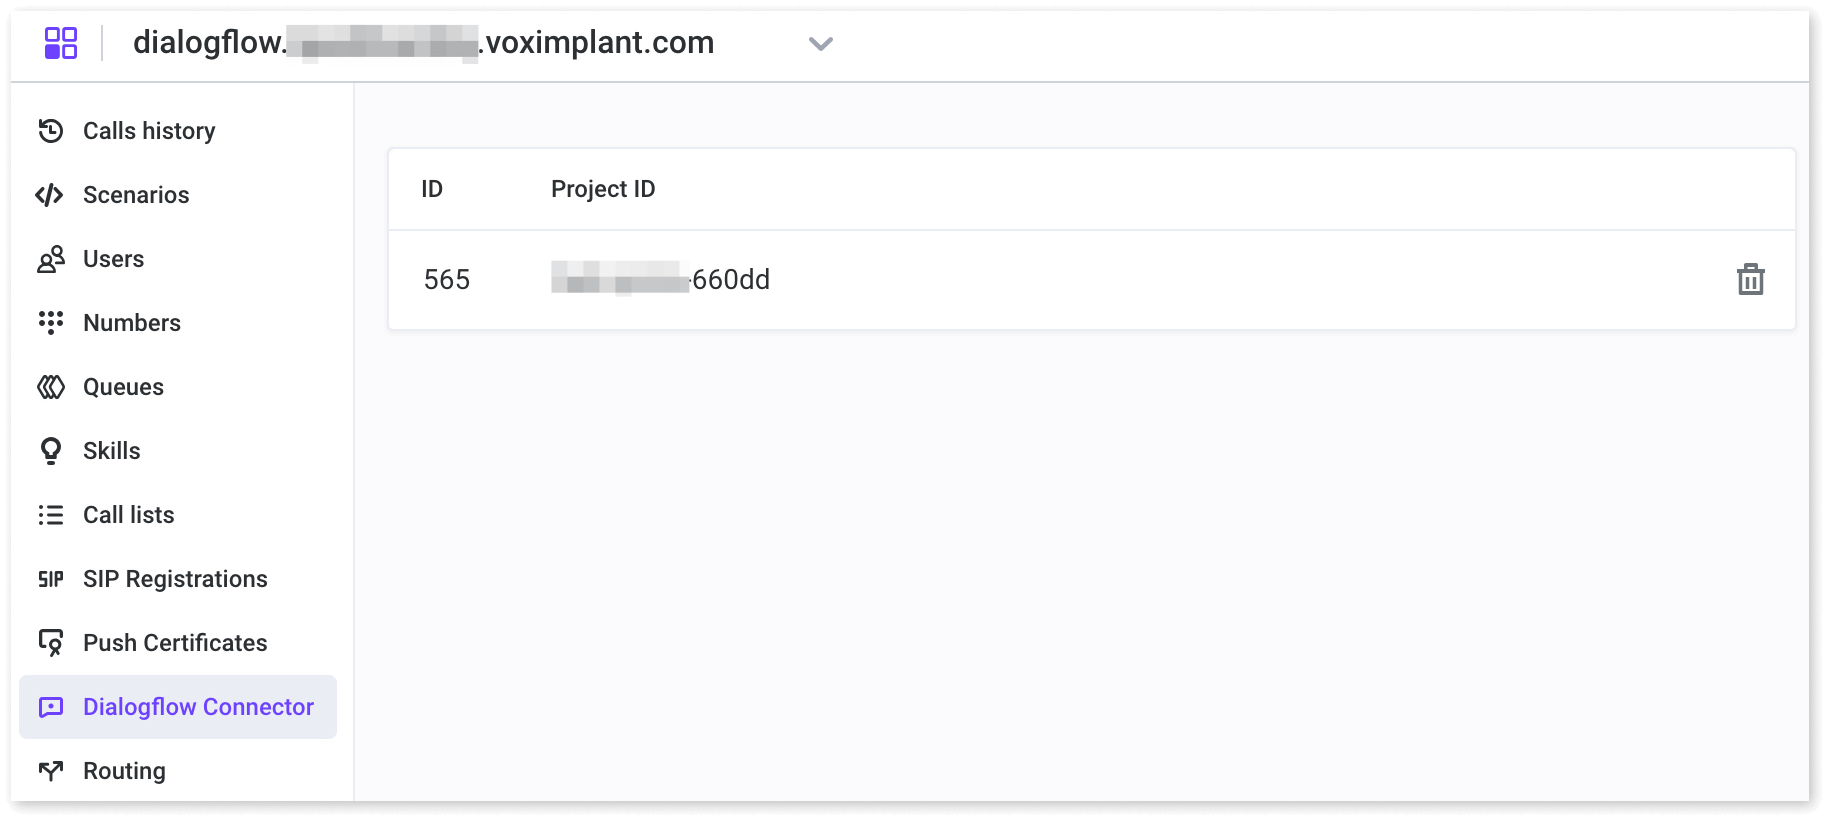
In the Voximplant control panel, go to your application and switch to the Dialogflow connector tab. Here, click Add in the center of the screen or Add Dialogflow agent in the upper right corner.
The Add Dialogflow agent dialog then appears; next, click the Choose a file button or drag-drop the JSON file downloaded from the GCP console and click the Add button. After the file is uploaded, you can see a newly added agent on the list:
You can also visit the Marketplace in the main menu to deploy an application and a test phone number linked to your Dialogflow agent. To do this, click the “Install” button in the relevant tile. Then, follow the instructions to conduct a test call and connect to the Dialogflow agent.
If something goes wrong, you might have to delete the test application in the Applications section and the test scenario in the Scenarios section of the control panel before you try to create the test application again. Their names start with DF_ (for scenarios) or df- (for applications).
- Please note that the default test application can work with an agent that supports English. If your Dialogflow agent uses another language, please change the test Voxengine scenario accordingly.
To make calls to the phone network using Voximplant, you must use a real phone number as a caller ID. Create an app in the Voximplant control panel and a scenario within it. Then, purchase a phone number and attach it to the app. Finally, set up a rule that forwards all calls from the purchased number to the scenario.
If you choose a number in a country where no special verification is required (for example, in the United States), then you can make calls straight away. Otherwise, you get a notification to upload verification documents required by the authorities in the country. It takes time before the number becomes active if all the submitted verification documents are correct.
We start with incoming calls.
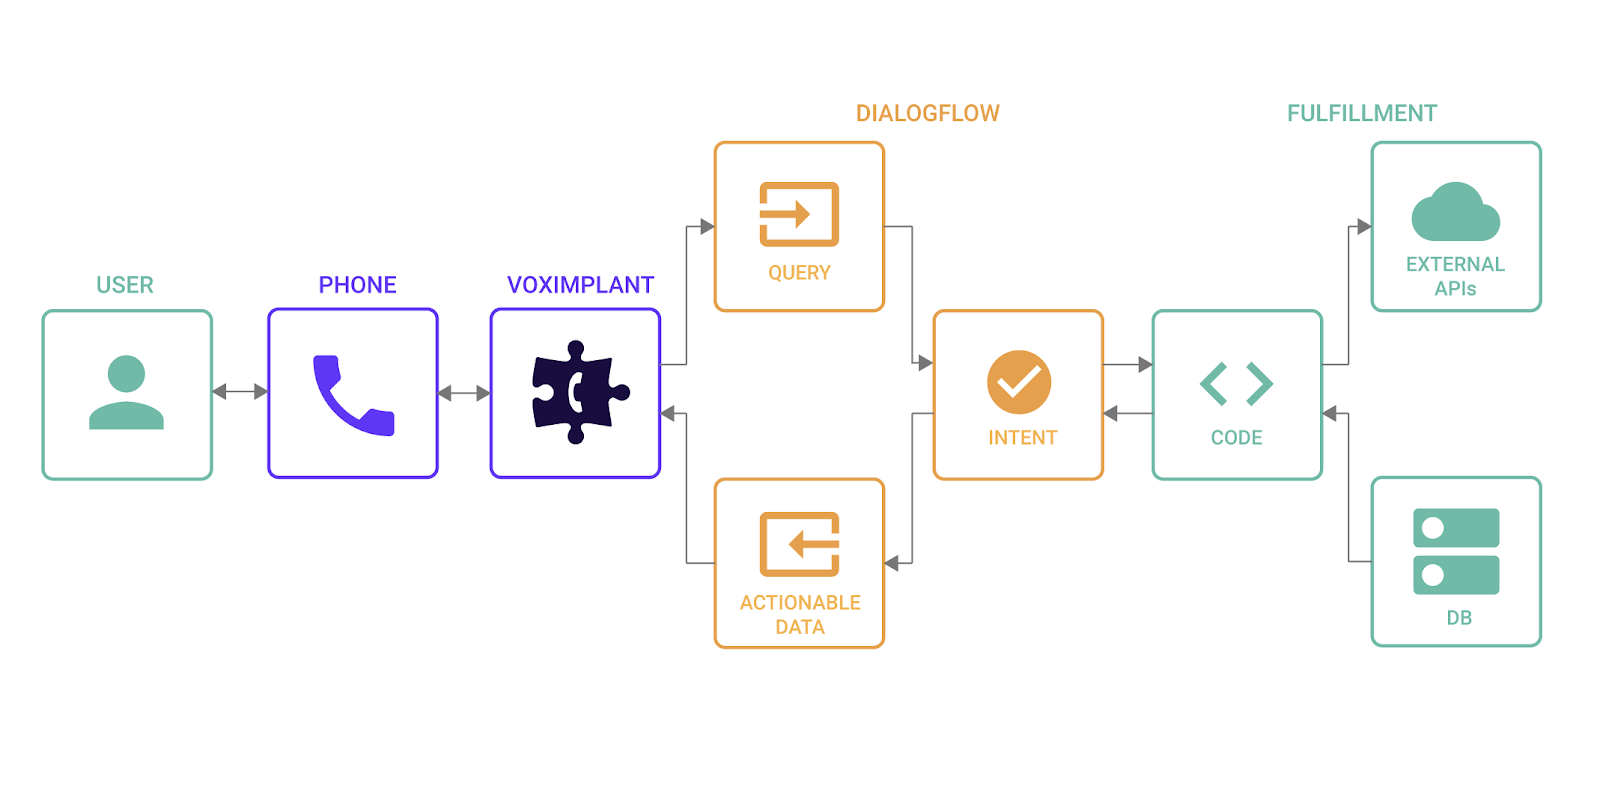
The scenario should look like this:
This scenario sends media from an incoming call to the Dialogflow agent. Query results are returned to the DialogflowResponse event.
Since we have enabled Speech Synthesis in the Dialogflow agent settings, there is the DialogflowPlaybackStarted event after each DialogflowResponse event containing queryResult with fullfilmentText. It indicates that the audio stream with generated speech is being played. DialogflowResponse represents Dialogflow's QueryResult object.
To initiate the scenario, simply dial the number you purchased a few moments ago.
Demo
You can see the connector in action on https://demos05.voximplant.com/dialogflow-connector. This demo is an example of an automated pizza order via a phone call. You can also download the Dialogflow agent from this demo via the following link: PizzaOrderDelivery.zip.
Modify scenario for outgoing calls
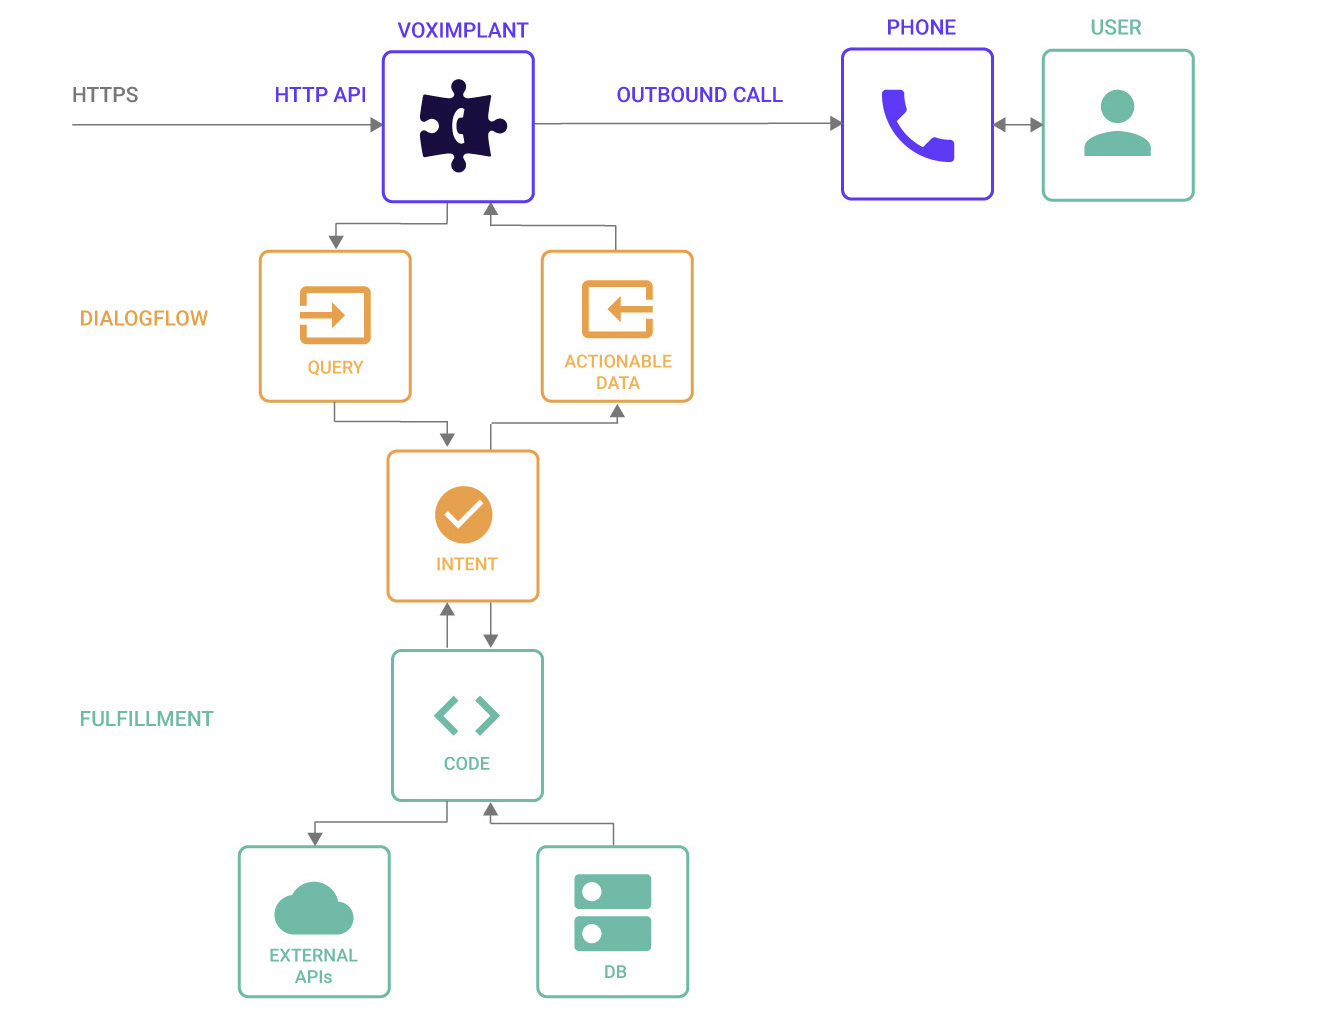
Change the scenario to make it work with outgoing calls:
Run the rule
You can initiate an outgoing call programmatically via the StartScenarios method of the Management API, or you can run the rule from the control panel. While in your application, switch to Routing on the left menu and click Run rule:

The "Run rule" dialog is displayed. In the dialog, specify a callee's phone number in Script Custom Data and click the Run rule button to initiate a call.
If everything is in order, the call reaches the designated phone number, and you’re greeted by your agent.
You can also use CallLists if you need to initiate many calls.
Transfer a call from a Dialogflow bot to an agent
Use the Dialogflow connector to connect a call running via Voximplant to a Dialogflow bot and control the bot’s behavior. Real-time audio streaming from Voximplant to Dialogflow and back ensures timely delivery of query results to VoxEngine as soon as the agent returns them.
Set up Dialogflow
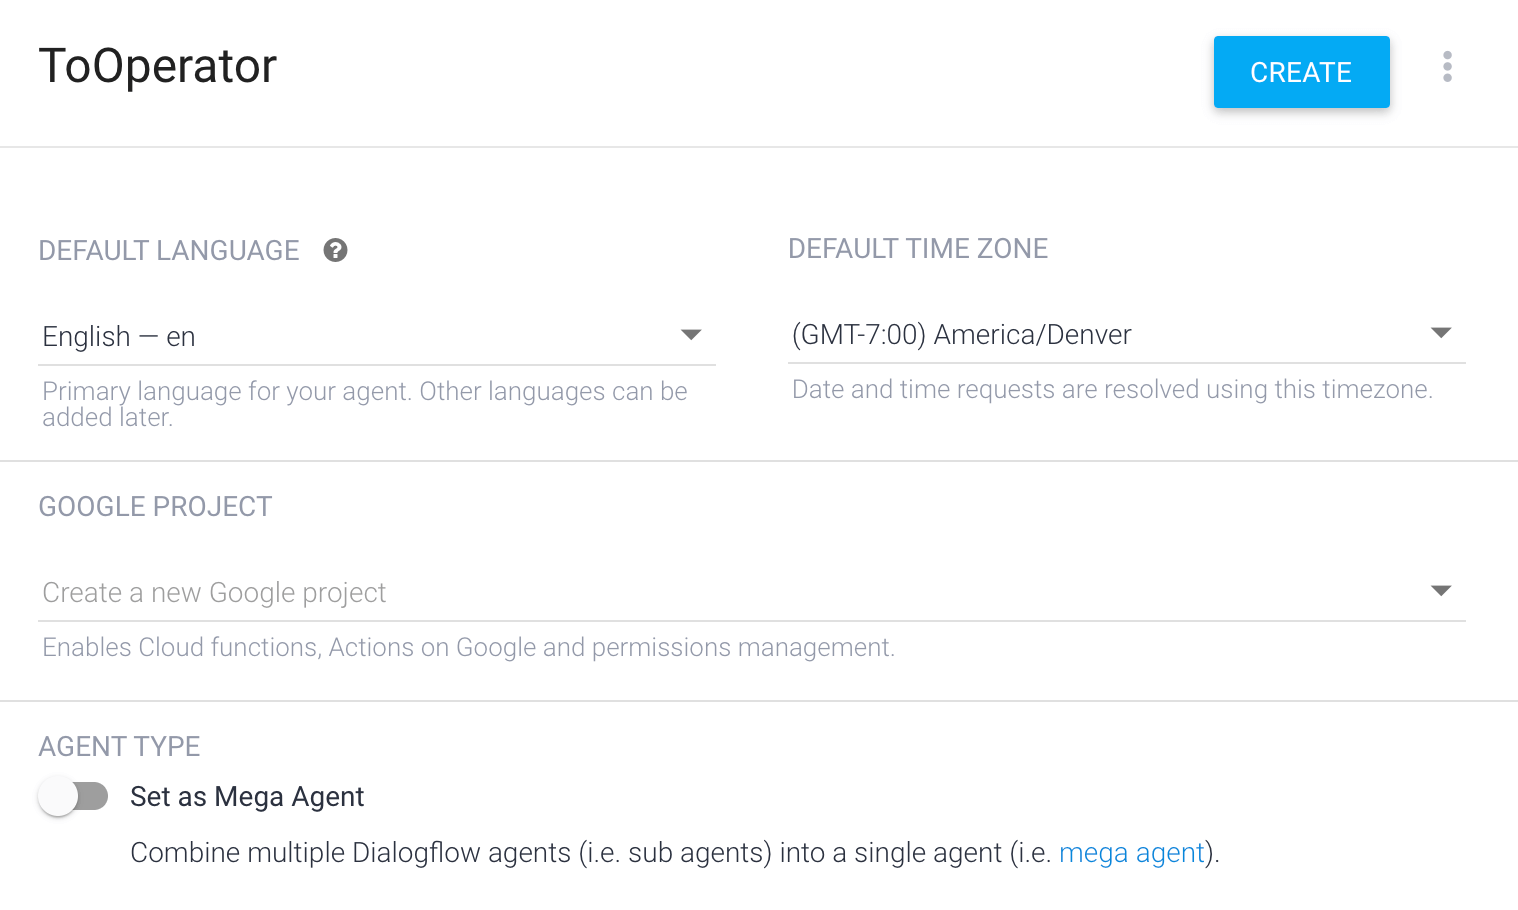
Go to https://dialogflow.gloud.google.com/ and create a new agent. Let us name it "ToOperator", for example, and click Create.
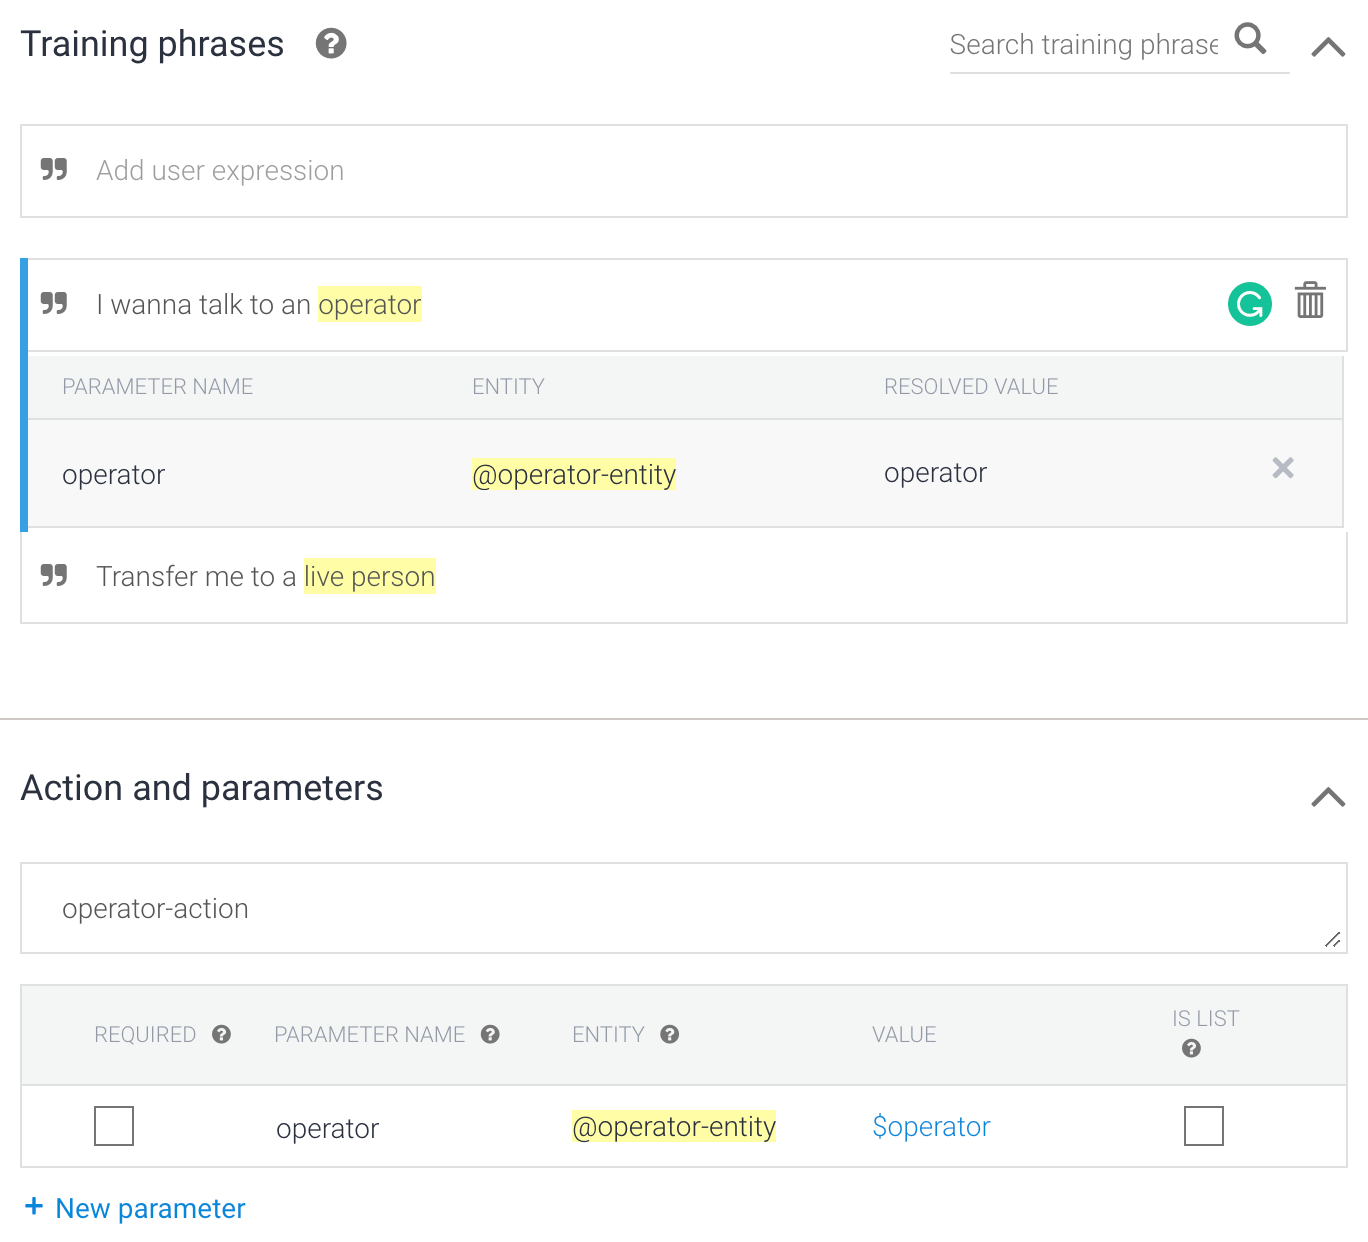
After that, you need to set up your entities. Our bot reacts to the words “agent” and its synonyms, such as “agent” and “live person.” In the Intents tab, enter the parameter name used in our code and select the entity you created earlier. Then, add some training phrases to Dialogflow so it can easily find and highlight the relevant words and assign corresponding mappings in the returned JSON. The more phrases you add, the better.
Voximplant uses the JSON file to perform authorization before sending audio data to the agent. Create and download the service account JSON file associated with the agent from the GCP console (please read the Setup authentication article for details). Choose the "Dialogflow API Client" role when creating a service account.
Set up Voximplant
In the Voximplant control panel, go to your application and switch to the Dialogflow connector tab. Here, upload the JSON file downloaded from the GCP console and click the Add button.
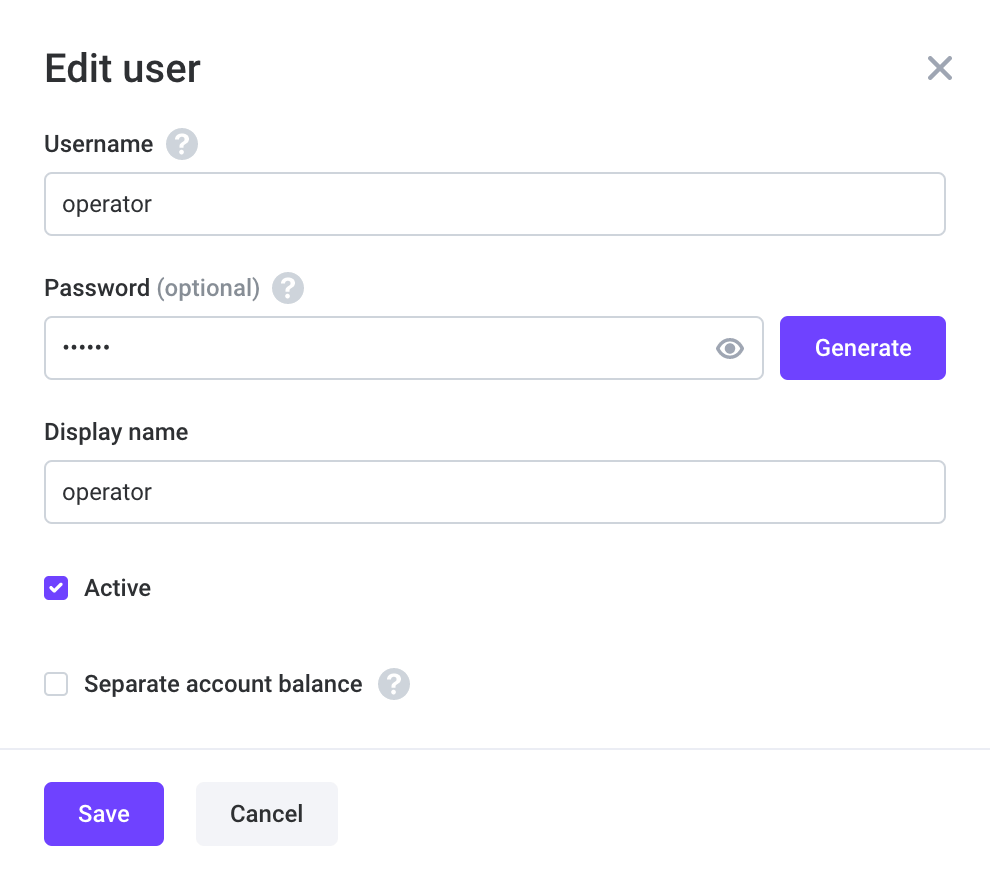
Now, you need to create a user (an agent) to whom you make calls. Ensure that the user is online when you make the call. If you’re calling from the web, create a second user (a callee). Users can log in here at https://phone.voximplant.com/.
Now you need to create a rule, a scenario, buy a number, and bind them all together. The JavaScript code sample of how to transfer a call to an agent is as follows:
